Translate

Saturday, March 17, 2012

I am Sexy and I Know It

It took about 10 hours to remove the rest of the guide coat.  The good thing is it's done and the car looks really good.  The car is just about ready for it's next coat of primer.


But before we apply primer there is a lot of work that needs to be done first.  This includes masking, wiping down the car and building a paint booth to protect the floor and everything in the garage from over spray.  This pre-painting ritual is an all day ordeal.


But now it's done and the car is looking super sweet.  Check out the masking of the hood.  I am getting better.


I didn't do too bad masking the rear window either.

I found out there's a drawback to using the plastic sheeting.  Paint doesn't adhere to the plastic so when you come back to a previously painted area the spray gun disturbs the plastic which sends bits of dried paint airborne.  I think I'll just use masking paper in the future.


Check this out.  The body lines are gorgeous.  You'd never know those wheel wells had been cut out.


What more can I say.


Even the fake louvers look good.


As do the front fender louvers.


I double checked the point on the stinger.  It's straight as an arrow. 


That's just sexy.


Now we let the car sit for a good week or more to let it dry.   After that we will do some light sanding (no guide coat) followed by scuffing with a Scotch Brite pad.  More on that later.  In the mean time I think we will start working on the hood.

We should see color soon, even if it's only a black primer/sealer.

Thanks for watching.

Monday, March 12, 2012

We Gather Here to Join this Body and Frame... Forever

This body bolt is one of 12 used to fasten the body to the frame.  It took a whole day of measuring, shimming and torquing to complete the installation.  A total of 12 Grade-8 bolts were used.  When it was all done, 10 locations required no shims and 2 required 2 shims each.


Switching topics, I removed the chrome American Racing Torq-Thrust D wheels from the Corvette.  The replacement wheels are American Racing Torq-Thrust D's in grey spoke.  The gray spoke wheels were very popular in the 60's and we feel they're more appropriate.  At Dennis K's recommendation we also put the raised letters to the inside.  Raised white letters were popular but the word Radial was not.


The picture does not do the wheels justice.  You'll have to trust me that they look awesome.


We put the chrome wheels on our newly acquired Nomad.  Bob D, my brother Jim and I have owned this car for the last 40+ years.   We just keep handing it off every 12 years or so.  The old Cragars are finally gone and the new wheels and tires look great.


We had three open issues from a recent post.  One was to replace the universal joint bearing caps with the correct U-bolts used in 63.  All 4 U-bolts have been installed and we even gave the rear cover of the differential a new paint job.


Another open item was to replace the transmission shift forks.  In this photo the new forks are installed.  They are made in the USA and are substantially beefier than the ones removed.  Lets hope they work.


Getting the transmission back together was a bit of a chore because of limited space in the tunnel.


We also purchased and installed a clutch fork push rod for the 1963 ball-and-socket clutch fork.


That about wraps up the mechanical work which means I'll be block sanding the body soon.  Either that or I could paint a test panel to figure out what color racing strip we want to use.  I think I like that.

Stay tuned and thanks for watching.   

Tuesday, March 6, 2012

Installing the Body - Finally

It's been a long time coming.  The body is finally being installed, permanently.  It will be bolted down and will hopefully stay that way for many many years.


I am using a $65 12-volt electric hoist bought at Harbor Freight to lift the body.  This hoist has been a real work horse over the last couple years and it has never failed me.  A friend even borrowed it to move a small shed in his yard.  He said it worked great.


Without the doors the straps have a potential for putting a lot of stress on the body.  I used softeners (towels) at all contact points.  They worked great with no issues.


Although I've never heard of anyone doing this I decided to cover the rolling chassis with plastic before installing the body.  The theory is it will act as secondary protection when we paint the car.  It should be easy to remove when the time comes (I think).  As the body is lowered we have to pay particular attention to the distributor and the gas tank.  Experience tells us these two items can easily get hung up and the distributor will scratch the firewall if we're not careful.


Touchdown!


Nothing scratched and the body to frame holes all line up nicely.


I couldn't have wrapped the motor better.  If nothing else it will keep the dust off while we finish sanding.


I am impressed.


How sweet is that!


Next we crawl under the car and start shimming and bolting the body.

Thursday, March 1, 2012

Ty has Left the Building - Revision 1 (See Post Script)

My good friend, car enthusiast and shop buddy Ty T. has been transferred to a new assignment on the east coast.  It's good for Ty but I have to admit I am going to miss the camaraderie.  Ty has been a part of this build since day one and he's responsible for many of the major decisions and accomplishments made over the last couple years.  I thought it fitting that we recap some of the more memorable times.

This is Ty removing the first bolt on the first day of our restoration.  It was raining that day.  Look close and you'll see his tool of choice was an air chisel.


Safety has always been first.  Yes, that's a garbage bag used to protect him from fiberglass resin.  It's simple but it worked great.


Ty and Wilson.


By far this is the most viewed picture on our blog.  For today, I'll tell you it has nothing to do with the 1963 fuel injected 327 small block engine.


Ty has always been keen on the period correct/era modified vision.  To do that, countless hours of research have been required.  As a result Ty speaks fluent Mechanical Fuel Injection as well as many other 1963 Corvette related languages.    


Never afraid to tackle anything, here he is rebuilding the A-pillar and windshield support.

Grinding, welding, fiberglassing, you name it, he's done it.  More than once I've cringed while watching Ty pull a sledge hammer and crowbar from the tool chest then head for the car. 


Ty helped figure out the solution to at least 5 fatal flaws made during the rebuild of the fuel injection unit (the rebuild was done by others).  In this video Ty, Max, Dennis and I attempt to start the motor for the first time.   That's Max sucking on the vacuum advance line, Dennis is running the throttle, Ty is operating the starter and I am playing with the distributor.  I title this video, How to Suck Start a Chevy.


This is a photo of Ty on a non-Corvette related excursion.  Although it has nothing to do with our build it was the only photograph I could find where Ty wasn't covered in grease, fiberglass or blood.

As I publish this post Ty and his wife are ready to head east.  The good news is his new assignment will bring him back to this area occasionally so I'm sure we'll see him with a crowbar and hammer again.

Thanks for everything Ty and good luck with your new assignment!

POST SCRIPT
At the recommendation of my brother Jim, Ty T. has secretly signed our Corvette.  I don't know where it is but I am told if you make a guess in the comments section of this blog Ty will let you know if you guessed right.  If you've been following this blog since the beginning Ty says there is enough information in the photo to make a good guess.  I am not going to look for it so I hope you guess and guess right.
Good luck!

Friday, February 24, 2012

"The List"

I've been working-off the punch-list.  Only a couple items remain and I am OK postponing those two for awhile (click on the picture for a better view).  That means we're getting close to putting the body back on the rolling chassis.  Before we do, there are a few items worth talking about.


The oil pan and oil filter were removed for inspection.  I didn't find any parts, pieces or metal shavings in the bottom of the pan and that's good.  I did find what looks like sludge though.  We have a fresh built motor and fresh oil so the sludge makes no sense.  I decided the only thing it can be is the zinc additive ZDDP.  ZDDP is recommended for older engines to help lubricate the solid lifters and the cam.  If you think the sludge is something else let me know.


Dennis K put me on to this neat product.  It's a one piece pan gasket made by Fel-Pro.  The pan gasket on a small block Chevy is usually four pieces that require silicone at all the joints.  This gasket is installed dry, has inserts in all the bolt holes to prevent over torquing, and it should solve the oil leak we have near the bell housing.


It's hard to see, but the black area in the middle of the photograph is the underside of the birdcage.  This area will never be seen by anyone because the frame rail covers it up.  None the less, both sides were painted with Eastwood's Rust Encapsulator, a very durable chassis paint.  It was tough to get at but it's done.


Remember this?  It's the last rusted area we fixed on the bird cage.  The metal was repaired but we never fixed the fiberglass floor.


To make the repair the duct-tape in the middle was used as a form.  Fiberglass goes over the top of this duct tape.  The ring of duct-tape along the bottom is used as a dam to collect excess resin.  Between the two the fiberglass repair should be fine.


To understand this picture you have to remember that our resin is clear.  Click on the picture and you'll see the duct-tape form is on the backside of the fiberglass repair.


Here it is a day later.  Now all I have to do is remove the duct tape.  Fiberglass does not stick to duct tape so the job should be simple.


It worked great.  A little grinding here and there and the floor will be ready for Dynamat.


And finally, look what we have.  Grey spoke American Racing Torque Thrust D's made in the USA.  These are more "period correct" than the chrome wheels we currently have on the Corvette.  I will put these grey wheels on the Corvette, then put the chrome wheels on our newly acquired Nomad, then sell those old Cragars that are currently on the Nomad.  It's time the Cragars go and this is my method.


We have lost a very important part of this build.  It's unfortunate and I am bummed about it.  That will be the subject of our next post.

Saturday, February 18, 2012

Keeping it Real

It's nice to see the rolling chassis again.  Before we covered it up a few months ago we had a list of things we needed to fix, repair and replace.  Lets get started.


Last year we drove our Corvette a total of maybe 15 miles.  During that time we noticed the rear end made a clunking noise, especially on turns.  Clunking can occur when the differential sits for several years and the internals dry out.  The fix can be as simple as doing a series of figure 8's with the car.  Unfortunately, that fix didn't correct our problem.  Since the rear end still had a clunk and because it wasn't date coded for 1963, we decided to replace it.  In this picture Ty is just starting the removal.


An hour or so later the troubled rear end had been removed.  It would have been a nightmare to do this had the body been installed.  Ty made it look simple but we know better.


The gray unit is the one that was removed.  The black one is its replacement and it was purchased on EBay about 6 months ago.  It's date coded early 1963, which ours is, and it has 4-11 gears.  In 1963 the vast majority of all fuelies came with 4-11 gears so it's perfect for our car.


Dennis K stopped by and helped Ty with the installation.  There was a lot of moaning, groaning and cursing needed to install the differential.  When it was all done we rolled the car around and verified the clunking noise was gone.  Excellent!


1963 Corvettes did not use bearing caps, they used U-bolts like the one I am holding.  Since I don't have a full set they will have to be ordered.  I'll install them as soon as I get them.


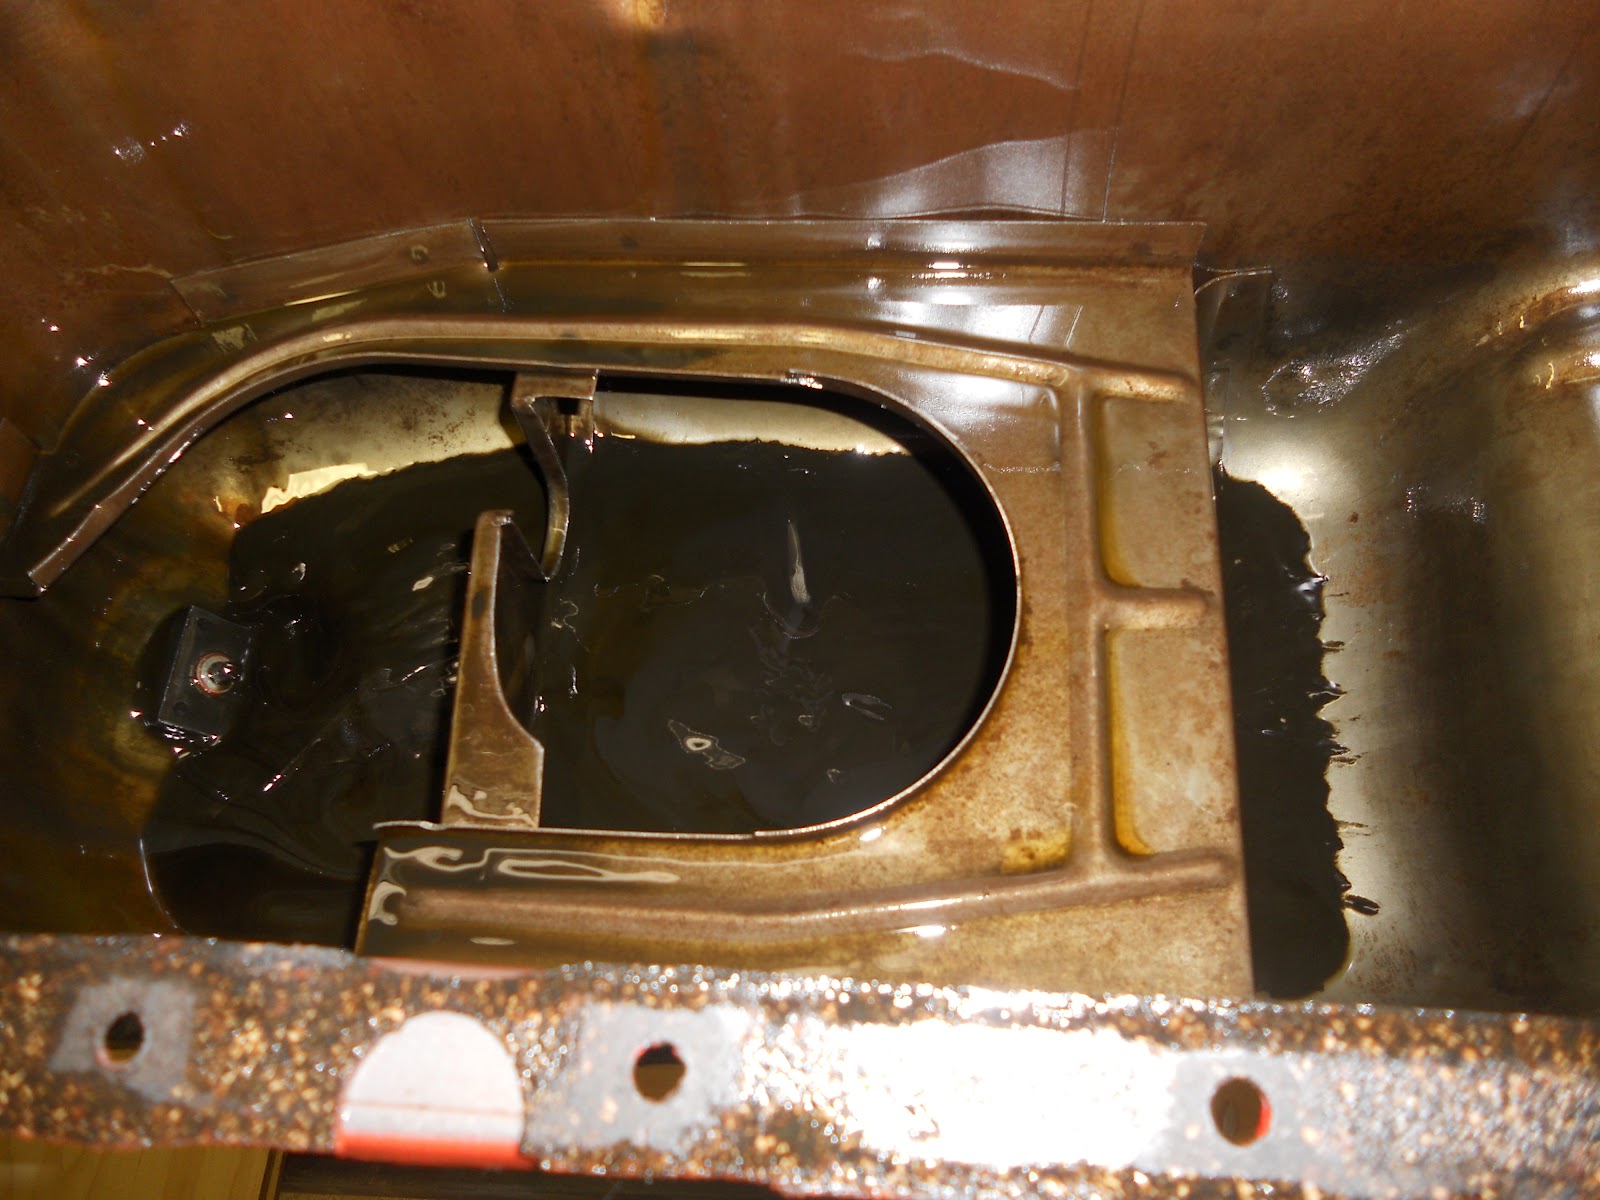
Dewayne J also stopped by.  We had an oil leak somewhere between the engine and the bell housing so Dewayne removed the tranny and bell housing for inspection.  There wasn't any oil behind the flywheel so we think the leak is coming from the rear of the oil pan.  We'll fix that shortly.


While the transmission was out we swapped clutch forks.  1963 clutch forks were unique because they used a ball and socket push rod.  The one that's installed now is correct for 1963.  All other years are like the one I am holding.


In early 1963 Corvettes used a Borg Warner T10 4-speed transmission.  That's what we have and it's correct for our car.  Later in 1963 the transmissions were changed to Muncie.  One of the issues with the early T10's was they often popped out of 2nd gear.  Ours does the same.  There are a few things that could cause this, a worn shift fork is one possibility.  A new set of these forks are on order and they are easily installed via the transmissions side cover.  If that doesn't fix the problem then this tranny will have to be removed and rebuilt.  Our fingers are crossed for the shift forks.


The steering on our car was a little sloppy so we decided to remove and rebuild the steering box.  When we disassembled the box it had thick grease inside, it should have had 90 weight gear oil.  Turns out over the years the exhaust pipe is so close to the steering box that it can cook the oil turning it to grease.  We soaked everything in carburetor cleaner for a couple hours then replaced all the bearings and seals and filled it with a high quality 90 weight synthetic gear oil.

It's interesting to note that the carburetor cleaner removed all the black paint but was unable to remove the green House of Kolor primer.  That's the same primer we have on our car.  It's tough stuff!


The steering box was reinstalled and it's as smooth as silk. It should operate just like it did when new.  Note the location of the exhaust pipe.


We will continue to work-off our punch-list items.  The body will be reinstalled soon so it's important to make these fixes now while access is good.

Thanks for watching.