Translate

Friday, December 31, 2010

Mounting the Body to the Chassis

It's time to fit the body to the chassis.  We want to do this so we can check the fit on the doors, drip rails, hood, trim pieces, etc.  We will basically assemble the car, verify everything fits, then disassemble for paint.  In this picture I've drained the cooling fluid and removed several pieces on the chassis so the body can be installed.


Using the electric winch and body straps, we lifted the body off of the body dolly.


Ausy Pete, these are the shortened straps I told you about.  They work great.


We were very careful not to scratch the fresh paint in the engine compartment.


Minor modifications were needed because of the side exhaust.


The body was shimmed then bolted down tight.  It looks great!

Happy New Year!

Saturday, December 25, 2010

Lets Paint

Safety first!

Protecting the tools and toys.

Exhausting the fumes through the doggie door.

I had to use an old siphon paint gun to spray up in the wheel wells.  A gravity gun, one with the paint canister on top, couldn't reach. 

These photos were over exposed in order to show the detail in the wheel wells.  The car is still green.


Only the wheel wells were painted in 1963.  The rest of the fiberglass under body was left unpainted. 


The engine compartment turned out exceptionally nice.


Everything looks great!


Merry Christmas!

Sunday, December 19, 2010

Wheel Wells and Engine Compartment are Ready for Paint


When this picture was taken the fiberglass repair had only been made from the underside.

The fiberglass repair is now 100% complete with exception to feathering and general clean-up.

Fiberglass is used as much as possible to make repairs.

The fiberglass we use is clear which makes it difficult to photograph our progress. 

Very little Bondo has been used on the car.

Sunday, December 12, 2010

More Sandblasting, Fiberglass Repairs and Paint Preparation

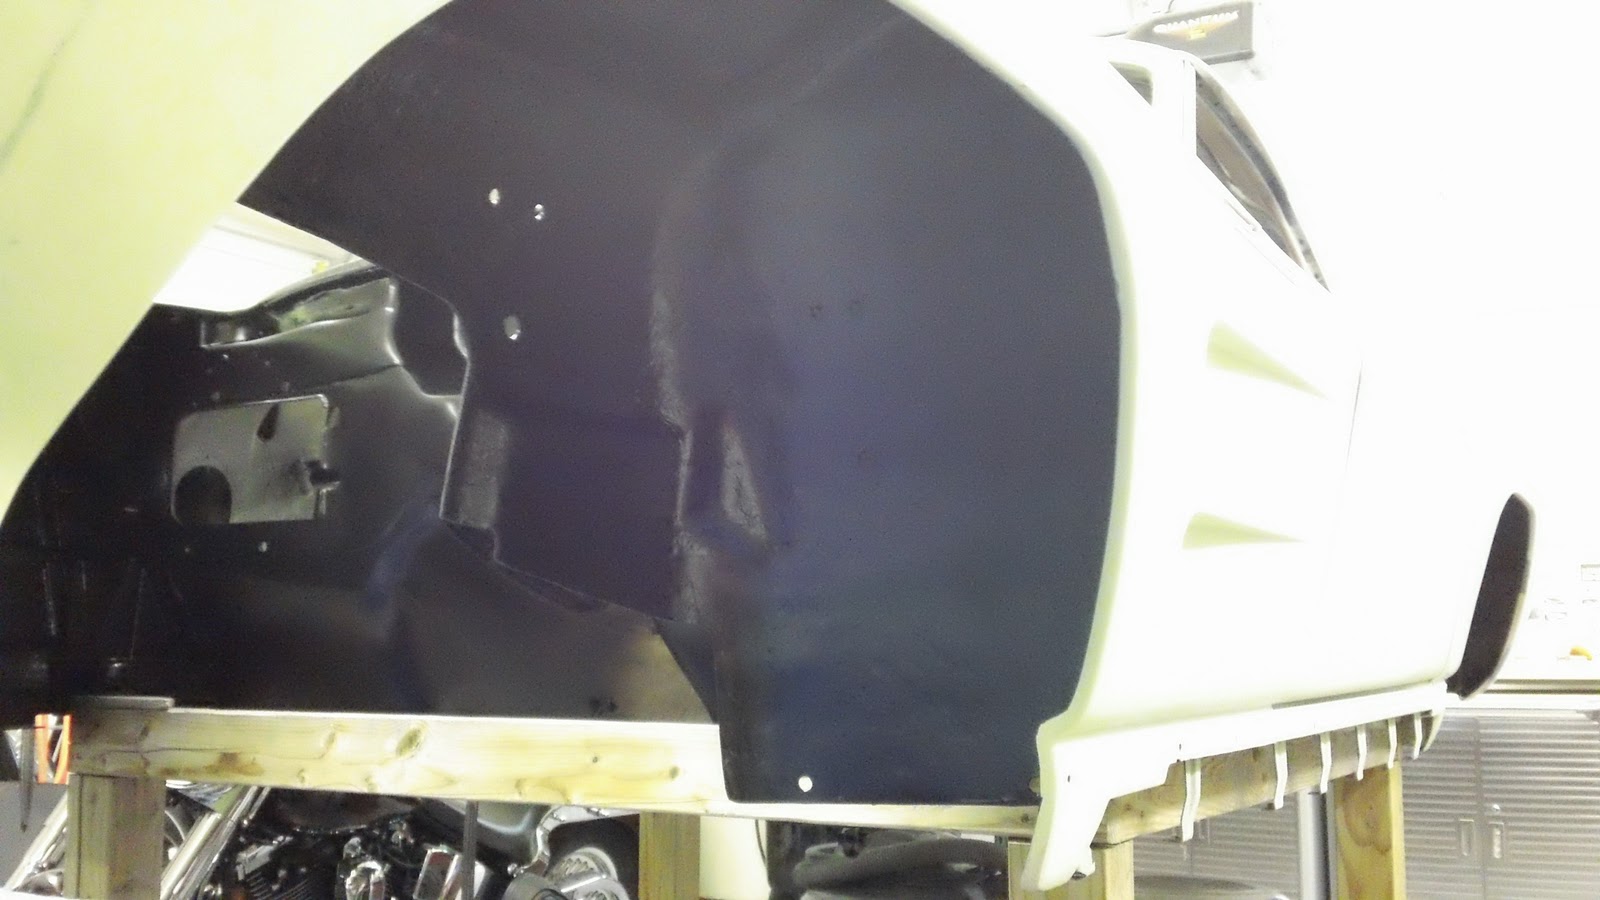
The weather cooperated for about 3 hours on Friday so we did some sandblasting.  The body was wheeled to the RV pad and both of the driver side wheel wells were sandblasted.


All areas received attention, even the areas that would never be seen.  This was a messy job.

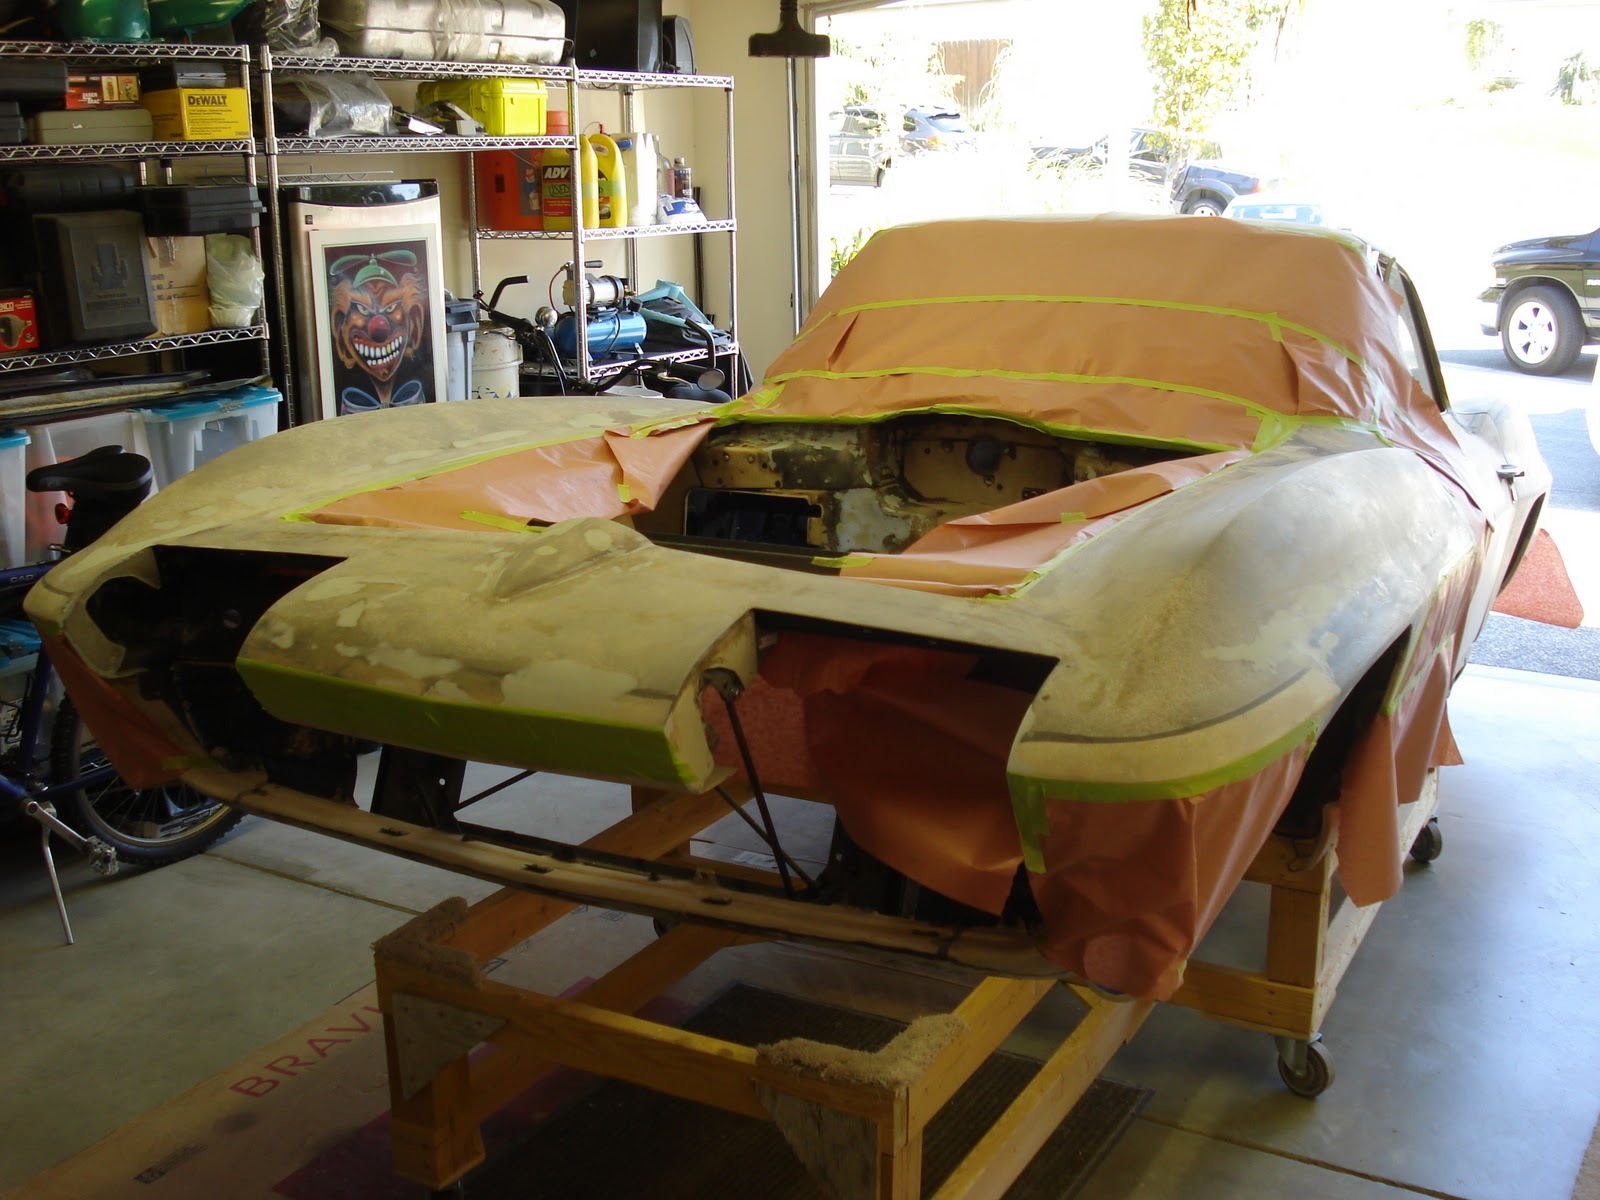
The fiberglass looked great after sandblasting but there were still areas that needed attention.  Ty came over on Saturday and ground out a couple cracked bonding seams, feathered a few areas that need fiberglass repairs, and he did some general cleanup in preparation for paint.  He was covered in dust and was as dirty as I was from sandblasting.

Time for a repair.  This access panel is suppose to be oval but you can see someone modified it years ago.  I can only guess why. 

A batch of resin was prepared, strips of fiberglass matt were cut, then the repair was started.

After the fiberglass cured I used the die grinder to restore the original contour.  Holes were drilled and all surface irregularities were removed.  This repair is ready for paint.

I also decided to resand the inside of the engine compartment.  This will be repainted when the drivers side wheel wells are painted. 

Other minor fiberglass repairs were made this weekend and new bonding agent was applied where needed.  While we wait for the weather to improve we will continue to make preparations for paint.

Thanks for watching.

Tuesday, December 7, 2010

Our 100th Posting + 20,000 Views + 20 Months of Work = Time to Recap

This is our 100th posting and I thought it would be a good time to show some of the more memorable events of our build so far.  If you've been watching since the beginning I bet you laugh at least once and also say, Oh yeah, I remember that.

  The container in Hawaii  


Cool Desert Nights -2009


Wilson


Rocky


Ty


Cool Desert Nights - 2010


Lester (Wilson) and Ty