Translate

Sunday, March 31, 2013

Gauge Cluster Installation

Before I stuck my head under the dash I did everything I could to  make sure I was ready.  I triple checked to make sure all the wires were marked and the dash bulbs were installed, made sure the tachometer and speedometer cables were positioned properly, and I made sure the oil line from the oil pressure gauge was fed through the proper hole in the fire wall.  I also installed the trip odometer reset cable to the gauge cluster. 


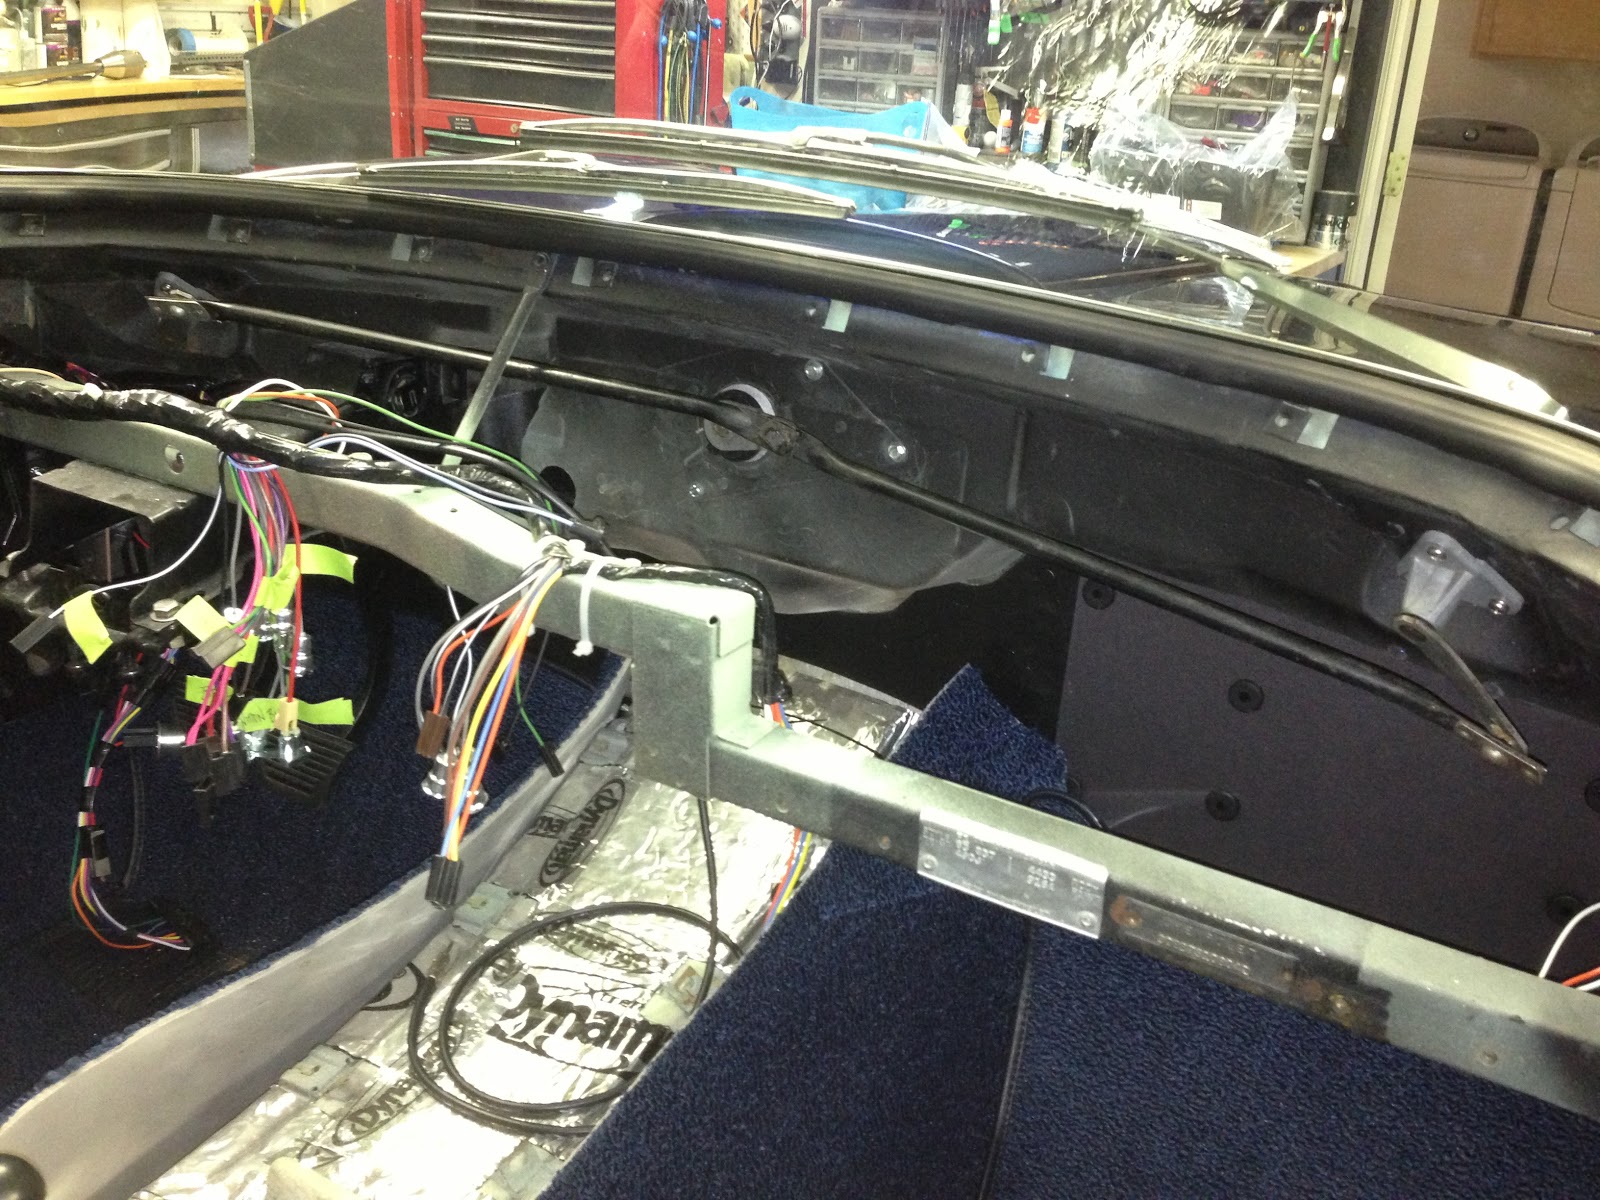
I installed my homemade aluminum rods into the dash screw holes then I slid the dash cluster into position.  These rods give me a little extra room to hook up the wires.


I used zip ties to keep the dash cluster from sliding off.  Some electrical connections were easier to make from the outside.  These included the light switch (shown), the ignition switch, and the three bulbs located at the top of the cluster.  All other connections were made from behind the dash.


I installed the tachometer and the oil line to the gauges first then I made the engine compartment connections.  This allowed me to slide the cluster without getting push back. 


Hooking up the dash cluster was a little overwhelming to begin with but as each wire was connected the job became less intimidating.  When all the connections were made  the cluster was pushed into position.  One by one the aluminum rods were removed and replaced with a dash screw.  It's tight behind there but everything fit.   


Check out the dash lights.  I like it!


This is a video of the dashboard in action.  Enjoy.


Sunday, March 24, 2013

Dash and Dash Pads

The dash is made up of three components, the center section (shown) and two dash pads often called eyebrows.  Our pieces are brittle, cracked, damaged and in need of TLC.  The center section is a fiberglass frame covered with vinyl.  It will be recovered with new molded vinyl.  


   Most of the dash was brittle but some places were still soft. 


The center section has two metal pieces.  These were removed, painted and re-installed.


The worse part of the entire process was trying to remove the old covering.  I tried a pick, screwdriver, Exacto knife, needle gun and other utensils.  The pick worked well but was very slow.


The best tool ultimately was the Fien Multi-Master fitted with a flat blade.


There were several areas that needed minor fiberglass repair. 


 My dual action sander was the last step.  The total process took about 4 hours. 


I chose this contact cement to bond the new cover to the fiberglass frame.


The cover was glued down one section at a time.  Clamps were used on all the edges.


 The results look like new and I couldn't be happier.


The dash pads were replaced, not recovered.  After 50 years in the sun the foam cores have turned brittle making the pads pretty much worthless.  The new pads, however, on a per pound basis, are the most expensive item purchased to date.  These were $1250 for the pair.


The dash and dash pads look awesome!


Installation has already begun.  More on that will follow.

As always, thanks for watching.

Friday, March 22, 2013

Heater Delete & Wiper Motor

 The block-off plate for the heater motor is the last piece on our car that has rust issues.  There are also several drilled holes that are not original.  The one rusted hole in the upper right.


The Heater Delete block-off plate is rare.  I hesitate to make repairs as I am concerned that I may loose distinguishing marks that show authenticity.  The gasket number is a good example.


Welding was kept to short intermitent durations to prevent warping and to prevent the gasket from melting.  The rusted area in the corner was drilled out just large enough to get to sound metal.


Using a scribe, I marked a plug out of same gauge metal.


Using a copper backing bar, I made a series of alternating tack welds to minimize heat.


This is as much restoration as I am willing to do.  The block-off plate gets tucked up behind the passenger fender in the engine compartment against the fire wall.  It will be hard to see.  


A couple coats of flat black paint makes it look acceptable.


The original gasket survived and it will work as intended.


It's there.  Right in the middle of the picture.


The windshield wiper motor...what can I say.  After restoring the wrong one I searched E-bay for a replacement.  I bought this original, properly coded, fully restored motor.  All finishes are correct and the restoration included the washer pump assembly. 


Look close and you'll see 3 different plug-in locations.  The lone one is for the ground.


New rubber mounting hardware was included.


Clips, fasteners, plastic and rubber parts are all new.


As viewed from inside the car, installation was a easy with the dash removed.


It looks good and it tucked up nicely behind the distributor.


The wiper transmission is a simple design.  I put it in the blast box and freshened it up with crushed walnut.  Hoppies lubricant was used on all moving parts and it's now good as new.


This is the wiper transmission in the neutral configuration, or off position.  To insure proper wiper motion the left wiper lever must be positioned up and the right wiper lever positioned down.


The wipers work great and they look awesome.


More interior work is next.  Check back often for updates!

Sunday, March 10, 2013

On the Key

Electrical work continues.  The starter, alternator, courtesy light switches, voltage regulator and horn relay (shown) have been hooked up and/or installed.


I've been waiting for this adaptor for the last 3 weeks.  It connects a new Flaming River tilt wheel to our new wiring harness.  It comes complete with everything required including the Emergency Flasher.  Lectric Limited did a great job on this adapter, a far better solution than Flaming Rivers recommendation to cut and splice.


I am anxious to test the dash cluster but in order to connect the wires I had to fabricate these sliders.  The next photo shows the function. 


 The dash is temporarily installed with my fabricated rods attached. 


The rods are slid into the dash cluster screw holes.  This allows the cluster to be installed while allowing room to connect the wiring.  


I found the best way to get your hands behind the dash is to lay on your back with your feet stretching into the luggage compartment.  I could not have done it any other way.

So, what did I get accomplished?  Check out the video link below to find out:


Minutes ago I published another posting on coil springs and carpet.  Be sure to check it out. 

Coil Springs and Carpet

You'll recall I thought I had the front coil springs sorted out a few weeks ago.  All was good until I bounced the suspension and heard the coils and shocks rubbing together.  I dismantled everything.


 The performance option for the front suspension requires F40/F41 coil springs.  These have 7 coils, 12" free length, .668 wire and are part number 3832518.  I have 4 sets of coils so lets figure out which one is the correct one.  The second coil has 7 full coils but heavier wire.  This one is for a big block and immediately gets eliminated.  


The first spring is the one I just removed from the car.  I looked at the sales description and it says, made with modern day steel with the ride height of the F40/41 suspension.  Look close and you'll see all this manufacturer did was cut one full coil off of a standard spring.  Wrong.  The end of this spring is no longer flat topped and that's the reason why it buckled under compression and interfered with the shock.  That one is going in the garbage.   The middle coil was also sold as a F40/F41 like spring.  Look close and you'll see it doesn't have 7 full coils.  It's another aftermarket want-a-be.  The one on the right is an actual F40/F41 coil spring.  The pair are tagged, have never been used on a car, and they are as authentic as you can get.  These are the ones going on the car.  OEM rules, reproductions suck. 


C2 Corvettes with F40/F41 coils loose ride height over time.  The spring steel used back then is not as robust as today which causes the coils to soften over several years.  Fortunately, our coils are NOS and have never been used. 


I love the ride height and I hope you do too.  The real test is what Jim Q thinks.


We have carpet.  Look at all these pieces.  1963 was the only year to have these many pieces of carpet.  All the other years used molded carpet.  Molded carpet was cheaper but I like this better.


The carpet pieces have been laid in place with no adhesive.  I won't glue or trim any of the carpet until the car has seen several warm days.  I want it to acclimate and flatten first.


It looks really good front and rear.


Here's another great example of why I try to buy OEM vs reproduction.  This is the courtesy light door actuator.  The one on the top is original, the one on the bottom is a reproduction.  The length is obviously wrong but look close and you"ll see the threaded fitting is too large.  This threads into the bird cage frame and won't work unless I drill and tap.  No way.  I refurbished the original.


  Check out the new stance.  It's awesome.


Thanks for watching.