A great website to learn about mechanical fuel injection is Ramjets that Run. Ty and I got a lot of great information from this website including a picture that showed us that our high pressure fuel pump face plate was installed incorrectly. This website also mentions that mechanical fuel injection engines require a robust ignition system. Jerry Bramlett, the site owner, states:
It's important to use top quality parts in your ignition system. I recommend installing a new Delco plug wire set. I never use those "properly dated" reproduction plug wires because of their tendency to misfire under load. I prefer to use new ignition coils rather than 40 - 50 year old GM originals. You can buy new plug wires and coils from K&B Special Products near Atlanta. Their phone number is (770) 777-1031. The K&B Delco coils fit in original Corvette coil brackets and work properly with a stock low-resistance ballast resister. An excellent spark plug available today for injected Corvettes is the Autolite #295. This plug is a non-resister design equivalent to the discontinued AC 46.
The plugs installed in our Corvette were Champion resistor plugs (left). I replaced all with the recommended copper core Autolite plug.

Our plug wires are properly dated for an early 1963. Jerry says don't use them so I bought a new set of Delco wires from K&B Special Products as recommended. The set came with straight caps but I wanted angle caps. The straight caps are correct for an early 63 but later in that year they changed because of issues associated with ignition shield shorting. I bought a set of angle caps.

The new wires were installed on a new distributor cap.
Our coil is correct for a fuelie but I don't know how old it is. I got a new one (left).

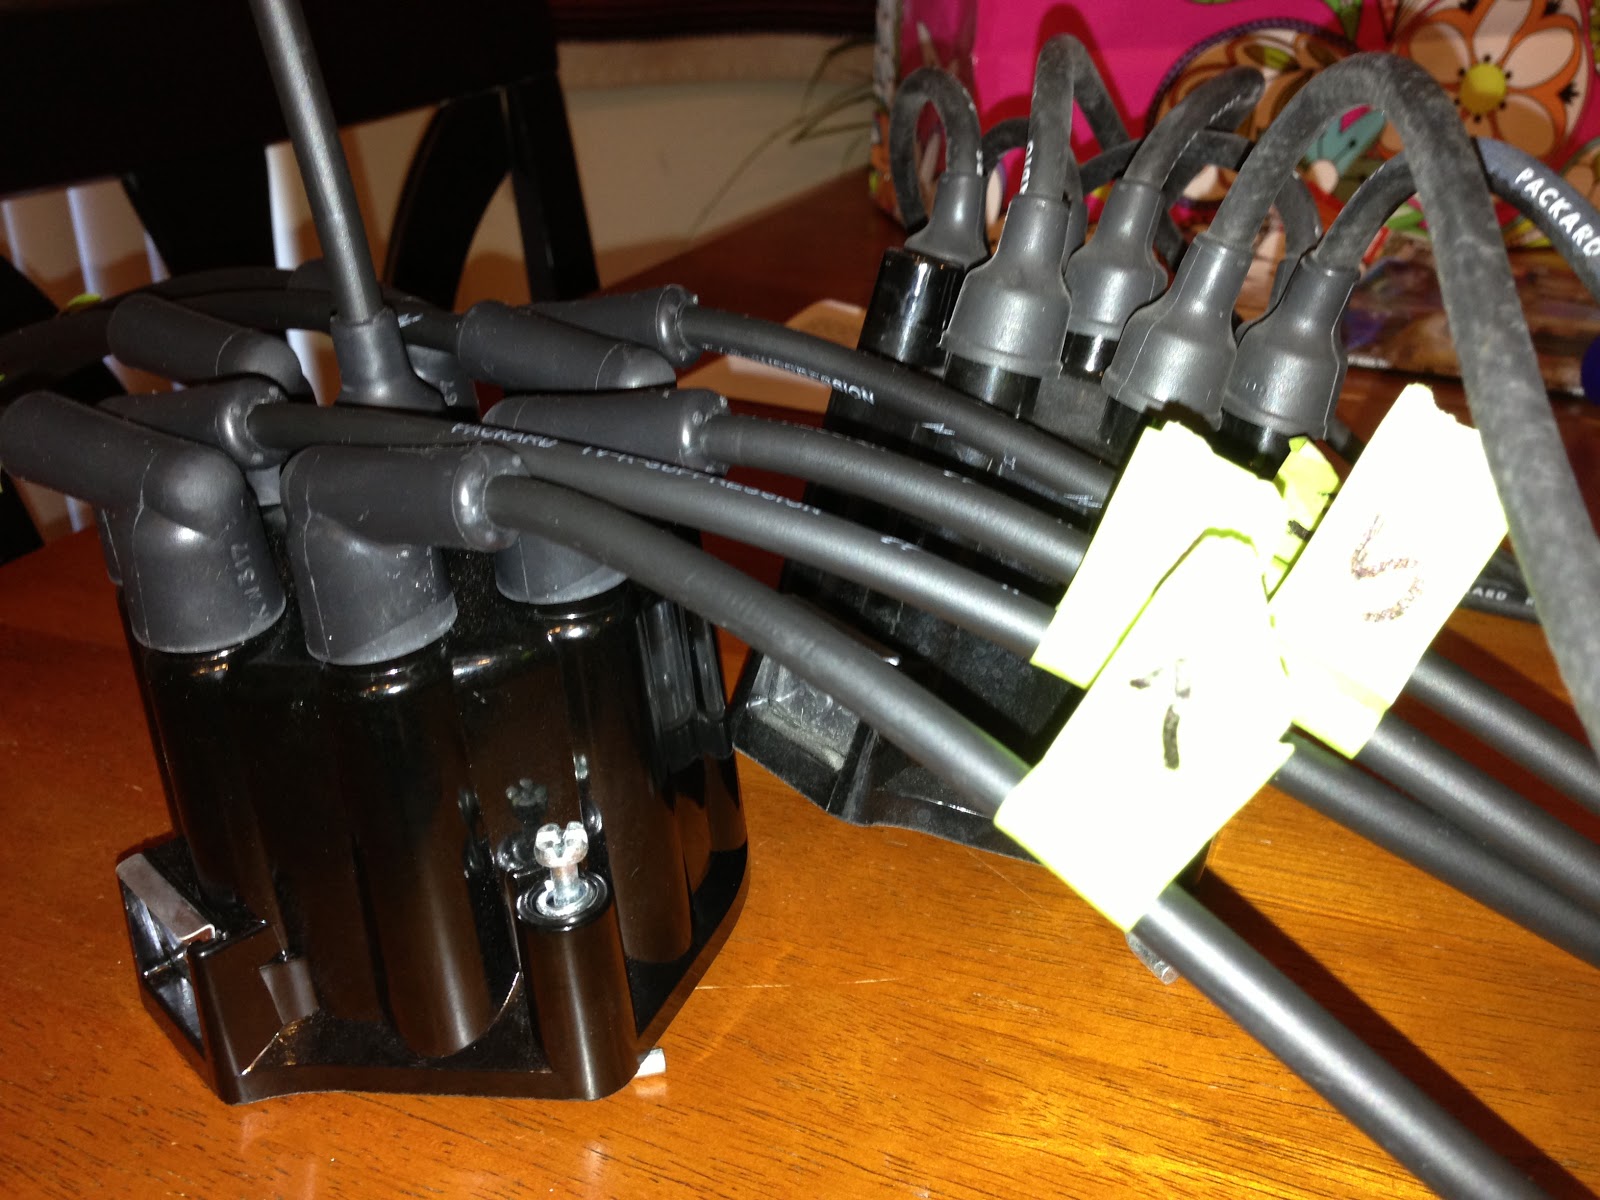
Here's a picture of everything installed. Yes, I need angle caps for the coil wire.

Plug wires 1 & 3 and 2 & 4 have to be routed behind the motor mounts if the radio shielding is going to be installed. This is the shield and motor mount for wires 1 & 3.

Here is a little better picture of the same shield.

The spark plugs also get a shield. It's shown just below the exhaust manifold. The distributor also gets a shield but that has to wait until I get the correct mounting hardware. It's on order.

We have a new leather arm rest. 50 years took its toll on the old one.

Vinyl pieces get glued to a few interior locations. This piece goes between the split windows.

This is the fiberglass halo that came with the car. The color is original and it's in good shape.

I cleaned it up with scuff pad then gave it a coat of clear. It looks nice.

This is the headliner. It's one big piece of plastic covered in vinyl. It's concave and basically snaps into place without any hardware. Interior trim pieces will ultimately secure it.

Here is everything installed. The vinyl between the split windows, the headliner, the halo and a new, functioning, courtesy light. Not shown is the new arm rest.

I am working on the interior molding for the windshield. In this picture it was just sand blasted. I am working on fitment. This will be painted and installed next weekend. That's the next post.

All right guys and gals. Be advised I am targeting Cool Desert Nights 2013 for the completion of our build. Timing looks like it will be perfect and the event is more than fitting. Wish me luck over the next several weeks. CDN is the weekend of June 20th.
Thanks for watching!


