Translate

Showing posts with label Door Alignment. Show all posts

Sunday, October 2, 2011

The Doors - 1963

In early 1963 Chevrolet discovered that the roof panel was not being produced to specification.  It was too small.  The die was about .10" too small which made for a poor fit at the upper door to roof panel.  Later in 63 the die was chrome plated which helped but never fully corrected the problem.  This error occurred on all coupes from 1963 to 1967.   So the question is, do we want our coupe to be as it was when it came off the production line or do we want it as the designers intended.  We opted for the latter.


Tape was used on the upper door so that the Bondo could be easily removed from this area. We don't want the door any taller than it already is.


After hours of sanding we ended up with very nice results.


Both doors received the same treatment and both turned out equally well.


The door to body gap was worked until uniform.


This should look really nice once painted.


Click on this photo and check it out.  After a little more primer and a little more sanding the doors should look like they were cut from the body, just like the designer intended back in 1963.

The body will be removed next.  Guaranteed.  Thanks for watching.

Monday, July 4, 2011

More Odds and Ends

My time in the garage is still limited but Lester (Wilson) says that's no reason for not posting.  So here's a few odds and ends that I hope will satisfy one of my most faithful followers.  You can also check out Peter's blog on his 1966 Corvette restoration.  Peter is another faithful follower that lives in Spain and his blog is at http://elcorvettedepeter.blogspot.com/

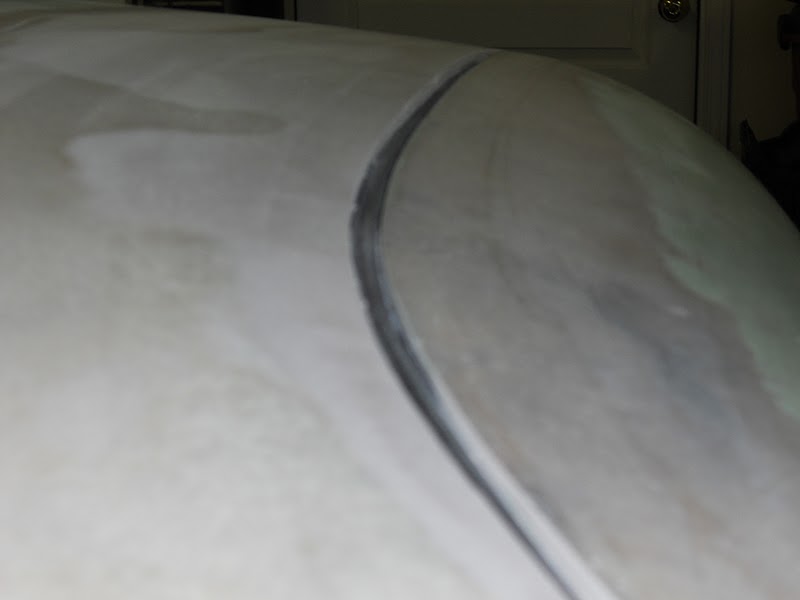
Ty and I continue to align the drivers side door.  As was the case on the passenger door, we had to grind away some of the thickness on the upper hinge.  The lower hinge will need 4 shim plates.  We didn't have any so Ty made 3 with available material but we need more.  I have since ordered several.


With 3 shim plates installed on the lower hinge you can see that the upper part of the door doesn't fit quite tight enough.  The extra shim plate should do the trick. 


Overall the door looks really good.  It shouldn't need much glass work at all.


Switching topics, the brass fuel float in the fuel injection unit had a leak and had been filling up with gasoline.  When the float doesn't float the car doesn't run.  This float has two halves that are soldered together.  After a couple failed attempts to repair the old soldered joint I removed all the old solder and resoldered with new.  The FI unit is back together and it's much better now.


Changing topics again, mechanical fuel injection experts recommend calibrating and tuning our engine using an air/fuel meter.  Sounds good to me.  Here I just finished welding the bung for an O2 sensor onto the drivers side side pipe.  Don't worry, this is the reproduction side pipe, not the original one.


The meter was installed in our make shift dash and it works great.  The optimum reading would be 14.6, that's 14.6 pounds of air to 1 pound of fuel.  The reading you see is a little rich but it was taken at idle.  We hit 14.6 when the car is cruising down the road.  Our Corvette currently has 108 octane racing fuel in it but it will soon be changed to pump gas.  When that happens we will retune the engine using our new gauge.

That's it for now.  I will not be able to work on the car for the next couple weeks so, Wilson, you're just going to have to grin and bare it.  Keep checking back though!

Friday, January 7, 2011

Body Alignment, Engine Timing, and a Cracked Exhaust Manifold

Now that the body is back on the frame we are able to see how much work will be needed to align the doors and the hood.  Both doors look real nice, especially along the roof line. 


The hood may require attention but we are not certain.  There are two support rods and two brackets that fit under the nose to help support the electric motors for the headlights.  We have the rods but not the brackets.  We should get the brackets this week and hopefully the misalignment you see will be corrected.  Fingers are crossed on this one.


Proper timing has been questionable since the first time the engine was started.  The vacuum advance canister would either hit the FI unit or the coil bracket depending on which tooth the distributor was sitting on.  We were never able to get the required 10 to 12 degrees before TDC.  It was like we were 1/2 tooth off.


It turns out that the distributor can be indexed in half tooth increments by rotating the distributor drive gear 180 degrees.  This is not something you will find in any service manual, you get this type of information from people that live and breath Corvettes.


I get technical and mechanical help from members of the National Corvette Restorers Society, or NCRS.  See their response to my timing issue here  http://www.ncrs.org/forums/showthread.php?p=528533&uid=2516 .  The engine runs great thanks to their help.


And finally, when I sand blasted and painted the drivers side exhaust manifold I spotted a crack at one of the threaded holes where the manifold and exhaust pipe join.  You can see it on the silver manifold on the left side if you double click the picture.  These are very rare manifolds and I was bumbed when I found the crack.  Fortunately, I was able to find another manifold in excellent condition.  It's the one in the foreground, still unpainted.


After painting the new manifold the swap was made and it looks just like the other one.  Only better.

We will start attaching parts to the body next and we will begin with the clutch and brake pedal assembly.  Brother Jim, this will be the bench top work you suggested.