There is very little information on the Internet about how to install a 1963 Corvette windshield. As such, I'll be a little more detailed with my methods and techniques, be them right or wrong.
The 63 Corvette windshield trim is unique as it is only 4 pieces. Our trim will be sanded with 800 grit sandpaper, hand rubbed with steel wool followed by a firm buffing wheel then a soft wheel.

The back side of our trim is dirty and caked with old weather stripping. This side will be cleaned with Goof-Off only.

The 1963 Corvette windshield requires 18 thin clips and 6 thick clips. The clips are for the top and bottom molding only, not the sides. Be advised that after market clips are notorious for not working very well.

As such, I decided to do a dry fit of the trim and trim clips. I masked the paint to prevent scratches and used small pieces of tape to mark clip locations. During this process I discovered that the trim clips I had ordered from Zip Corvette were not engaging, they were horrible. Corvette discussion groups on the Internet told me Paragon makes a better clip so I ordered a set. They worked OK but I suspect OEM is best. You just can't find them though. Trim clips are pricey at about $4 each.

The windshield was weatherproofed with 3M Bedding and Glazing Compound, part # 08509. The backside of the clips get this compound before installation. If you don't do this the windshield will leak.

All the clips are installed in this photo. The 6 wide clips are located on the lower trim piece, three on each end. The windshield frame is extra thick in these locations and require special clips.

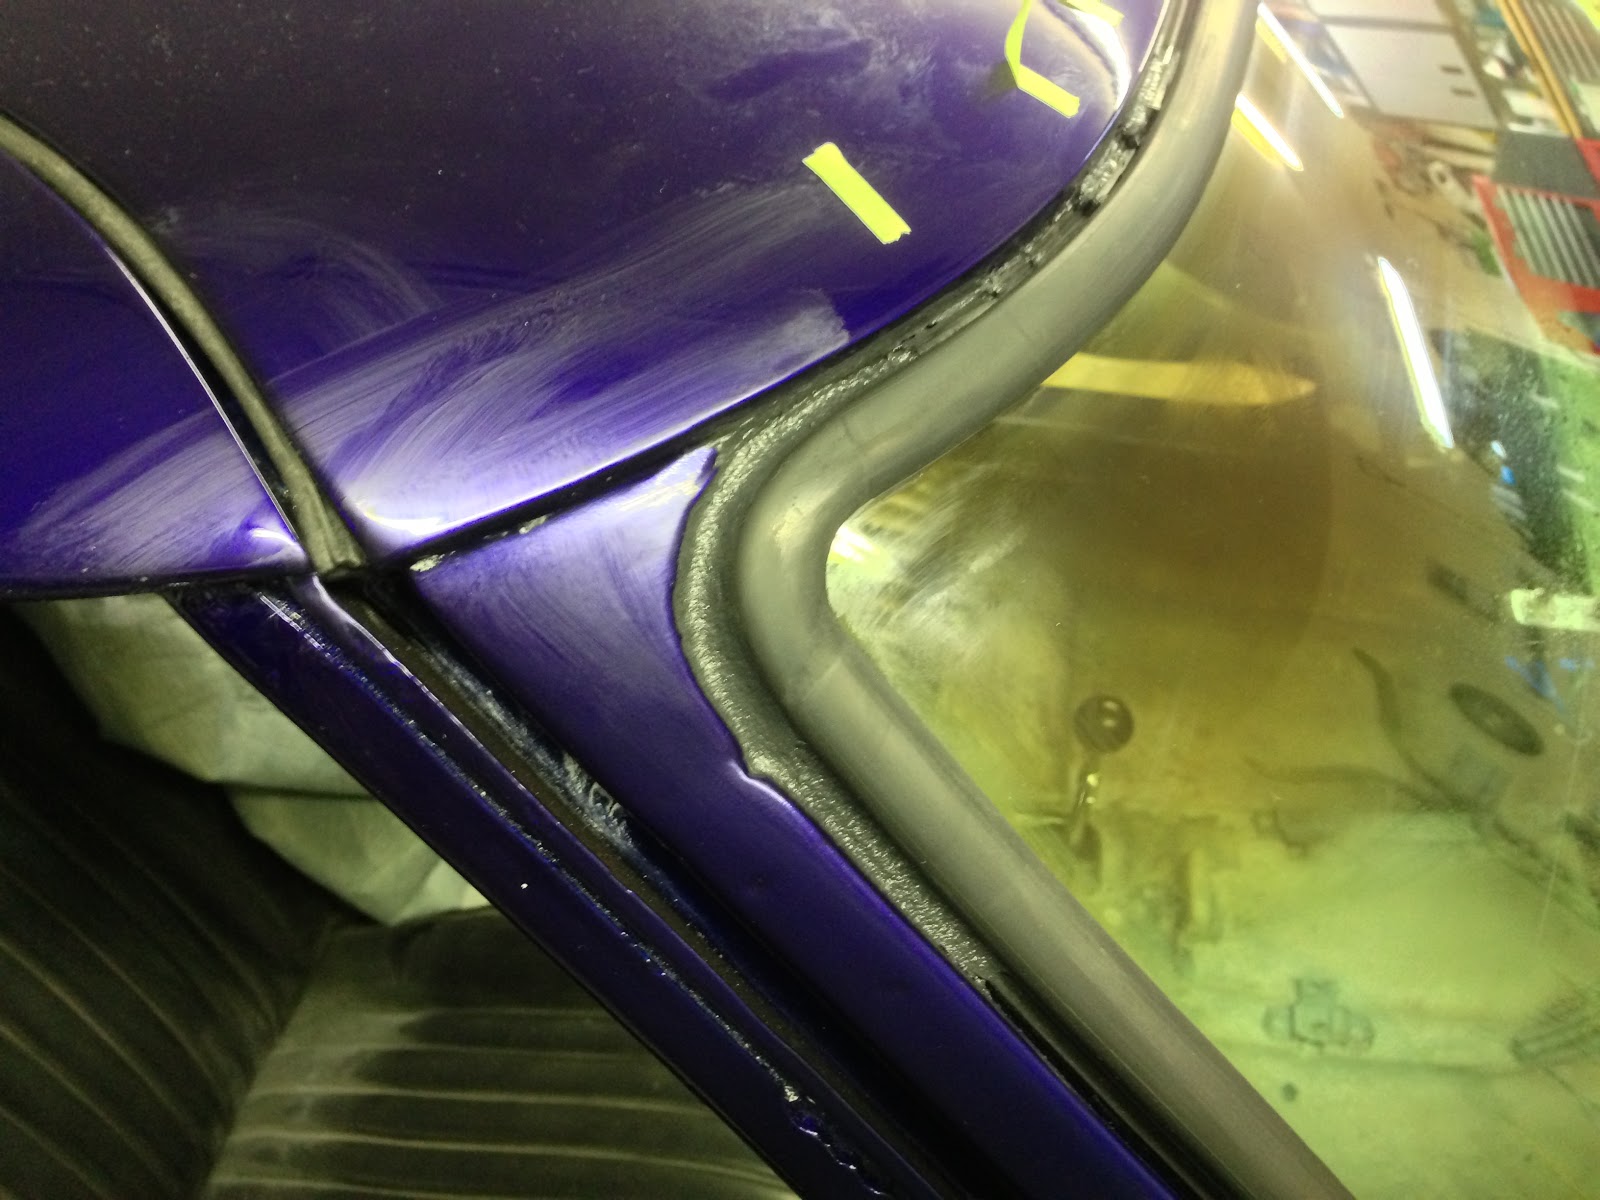
Bedding compound is then applied around the full perimeter of the windshield frame.

The windshield gasket is installed around the windshield then a nylon cord is inserted in the slot that accepts the car body. This goes all the way around the windshield. The windshield is then set on the windshield opening then the cord is slowly pulled from the inside of the car allowing the gasket to lap over the windshield frame. Gerri and I did it in the first try but I understand others are not typically as fortunate. The windshield fell into place when the last couple inches of cord were pulled.

It looks great.

The upper corners needed a little extra compound so I force fed them with extra compound and a stick.

I smoothed the corners over with a rag dampened with Goof-Off.
Now it's time to seal the gasket to the windshield. For this I filled a cake frosting bag with bedding compound then used the back side of a plastic spoon to lift the gasket. After this was completed I used Goof-Off to remove the excess compound. It worked very well with no damage to the paint.

Unlike the rear windows, the windshield trim pieces are installed separately. First the upper and lower pieces are snapped into position then the side pieces are slid into position and screwed down.

I am very pleased with the results and it went a lot better than I had expected. Patience is key.

I am not sure what's next. Whatever it is, the wiring harness won't be too far away.
Thanks for watching.