Translate

Sunday, June 24, 2012

Cool Desert Nights 2012

Cool Desert Nights 2012 was this weekend and we decide to bring our Corvette after all.  Check out this video as we prepare for our favorite car show:

http://youtu.be/PKQLvjkx15E

It rained most of the night so we decided not to park in the grassy area for fear of getting stuck.  Dennis and Annette and Gerri and I caravaned to the show with 4 vehicles.  It was amazing how many cars were already there and it was only 6:30 am.


Here we are with our 4 vehicles (5 counting my truck).  Gerri's bug made everybody smile.  Young, old, boy, girl... it didn't matter.  Everybody smiled and most had to take a picture of her car.


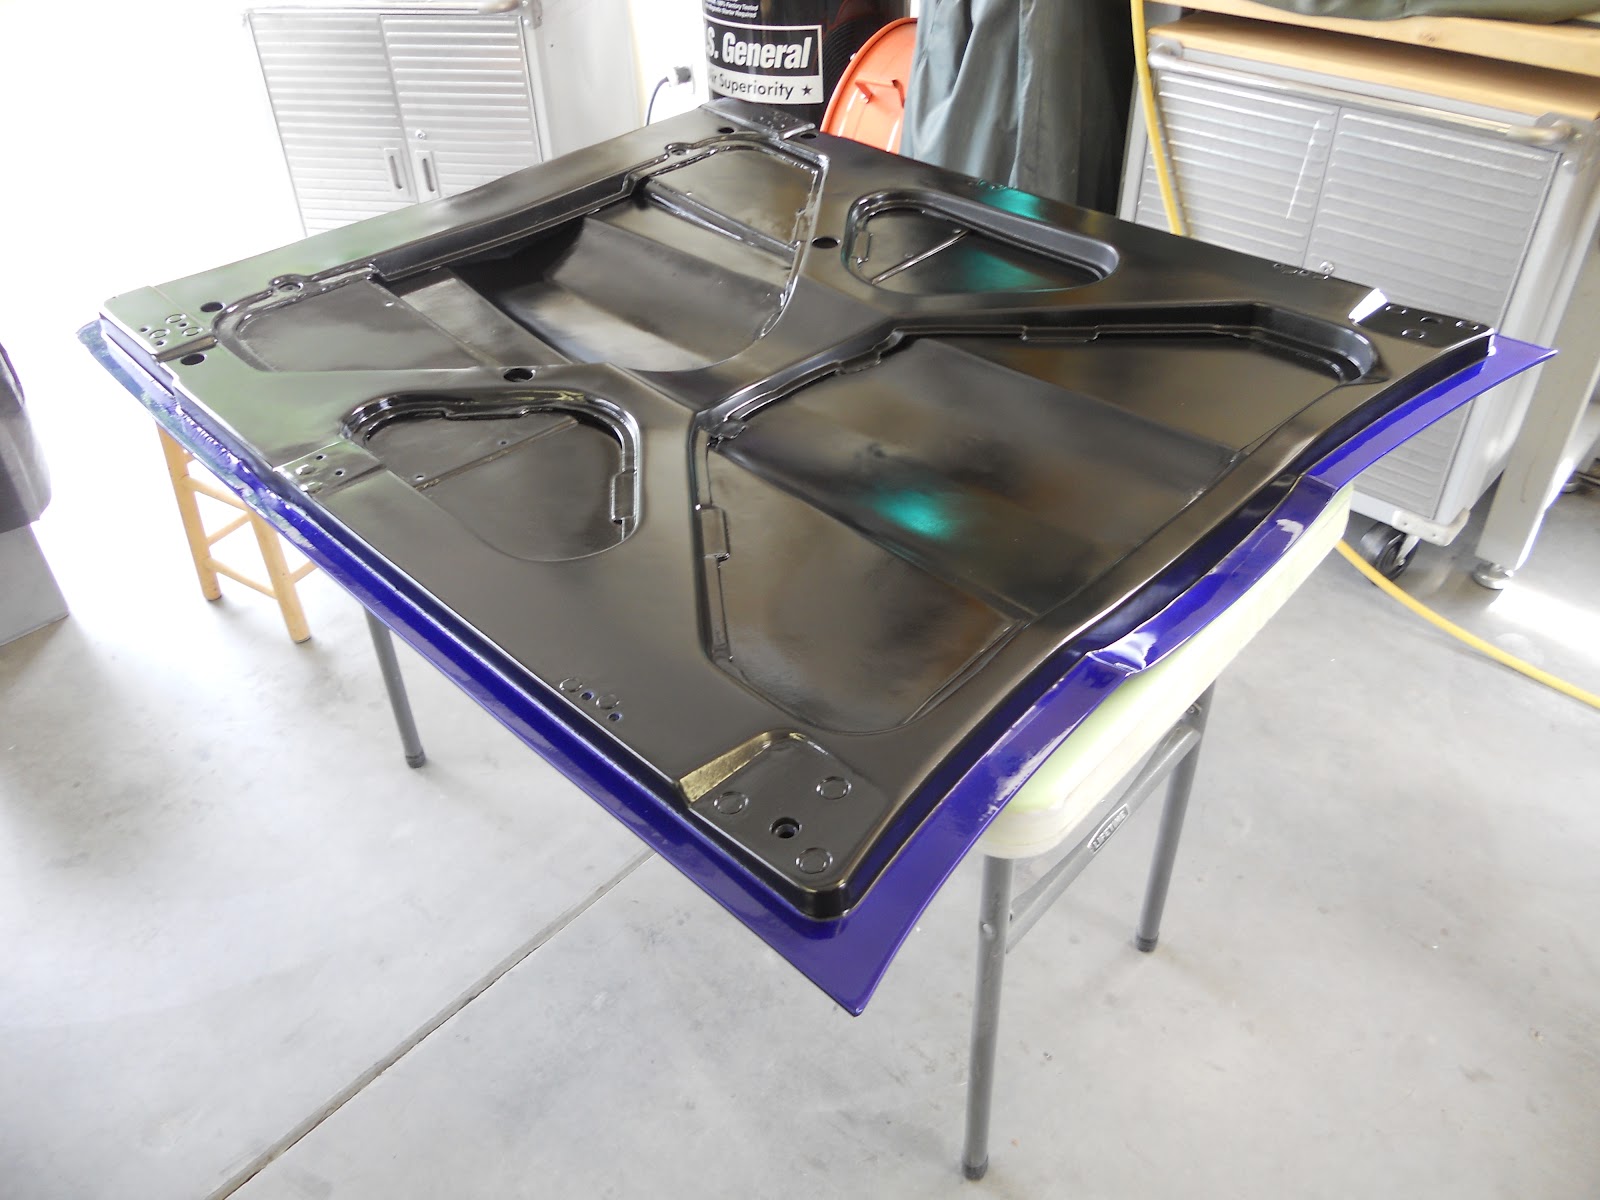
We left the Corvette on the trailer because thunder showers were forecast throughout the day.  We raised the hood and opened the door but other than that, set up was easy.  Everybody loved the Cobalt Kandy Blue color and I have to admit seeing it in the sun it was pretty spectacular.  I like it.


We think 700 plus cars showed up for the event but many left when the thunderstorms arrived.

This guy stuck around even though his car wasn't water tight.  It has a blown 4 cylinder engine with most everything being heavily modified.  Check out the billet dash.


The grassy area was full in the morning but we lost half of these cars when the first rain arrived. 


This is a beautiful pick-up truck.  Super clean.


This looks like a hot rod cement mixer but it's advertised as a Tequila mixer.  I think it really is a beverage mixer and if I am right, this guy wins the coolest blender award ever!


Another 4 cylinder and it's pretty cool.  The aluminum tanks in the rear are for storage.


A snare drum air cleaner.  Works for me.


Now that we own a VW we have a keen eye for other bugs.  You gotta love it!


Just too cool.


Everything on this motor is either polished aluminum or chrome.  


Ya gotta love it.


This color was stunning. 


I don't know what they were discussing but they spent a long time checking it out.

So here's the rest of the story.  While we were at Cool Desert Nights two big thunderstorms came through and we stuck around for both.  Each time we wiped down the cars and each time we set up our area when the sun came out.  Many of the cars left but we stuck it out... at least until the third storm rolled in.  We packed our bags and headed home for that one.  Did we win a trophy?  We don't know.  Did they give out trophies?  We don't know that either.  What we do know is we had a great time and the day was filled with non-stop discussions about the Corvette and the VW.

Thanks for watching!

Saturday, June 16, 2012

The Hood Continues (with a post script)

If you think about it, both sides of this hood have about as much surface area as the roof, both of the doors, and then some.  No wonder it's taking so long to finish this thing.

The top of the hood has been primered 3 times, block sanded and guide coated in-between each coat.  I let it dry for a full week then went over it with a red scuff pad to help the adhesion of the black primer sealer.


Two coats of black primer sealer were applied and allowed to dry for several days.


Then I flipped the thing over and continued to work on the underside.

Now here's the problem.  I know it's the underside of the hood and I know nobody is going to pay it any attention.  Yet I find myself giving it almost the same amount of attention as I did to the body of the car.  Look at the sanding discs I am going through.  Yes, I am block sanding the underside as well... but what the heck.  I bought the car to keep me off the couch and it's doing that.


Here it is after it's first sanding.  We still have a few spots of fiberglass showing so I'll add more primer.


Here it is, re-primered, re-sanded and ready for primer sealer.


The primer sealer really only needed to be applied around the perimeter of the underside of the hood since that's the only place that gets color.  But I had a little extra primer left over so I sprayed the center section as well.  The center will be painted with Por 15 Chassis Coat Black, the same stuff we used on the firewall and inner fenders.


Three medium coats of Lapis Blue were sprayed around the edges.


Then several coats of Cobalt Kandy Blue were sprayed followed by several coats of clear.


After drying for about 12 hours I started masking with 1/4" tape as shown.  This was followed by 1" tape.  This "two tape" method allows nice tight radiuses where the 1" alone can't do it.


Everything was then scuffed to remove all gloss.  The area was cleaned with a wax and grease remover then all the holes and threaded areas were plugged with foam ear plugs.  A final blast of air removed all lint and debris making the underside of the hood ready for paint.


3 medium coats of Por 15 were applied then allowed to dry for about an hour before the ear plugs and masking tape were removed.  I'll let this dry for at least a day before I put it on the car.  Hopefully it will fit as well as the 67 hood we were going to use originally.  Wish us luck on that! 


Thanks for watching.

Post Script:

Brother Jim asked for a couple pictures of the 63 hood in the early stages of repair.  This hood had major damage caused when it buckled during a head-on collision.

These repairs are representative of about a dozen repairs made on the underside of the hood.


Sunday, June 3, 2012

Headlight Buckets

I am alternating between the headlight buckets and the underside of the hood.  Since I've already done several posts on the hood I though I'd show you the work on the headlight buckets.

1963 Corvette headlight buckets are the only year that had fiberglass skins.  All other years are made of sheet metal.  That said, there is still a lot of metal in our buckets and it needs attention.


The hole on the right is a rust hole.  A metal patch piece is my choice for the repair.


The rusted area was cut out, squared, then a matching piece of metal was inserted.


Tack welds were used until the entire piece was welded in.


I ground the weld crown then later applied JB Weld to fill the nooks and crannies.


Another needed repair was a corner of the headlight bucket that had chipped away.  A Popsicle stick was wrapped in duct tape to make a form for fiberglass and resin.


Here is the chipped corner after the repair.  It's nice and strong.


The buckets were block sanded then prepped for another coat of primer. 


Now we let the paint dry.   A little later I'll glaze and guide coat.  You know the routine.  


Pictures of the underside of the hood will be next.  It's coming along nice but boy did it need work.

As always, thanks for watching.