Translate

Sunday, June 16, 2013

Door Panels

Unfortunately, I am still waiting on parts from Al Knoch Interiors.  They have wonderful products but their shipping policy is horrible.  I found out that when multiple items are ordered they hold shipment until everything is ready.  Any specialty item that requires fabrication will prevent in-stock items from shipping.  They still owe me parts for the doors and the seats.  This is not good.

Cool Desert Nights starts Thursday night.  I can't hold off on the doors and the seats anymore so I decided to assemble the doors knowing I'll have to go back later and add missing parts.  

These are drivers side door panels.  I have to take the parts from the old panel and put them on the new.  The "hockey stick" is simple.  What's difficult is on the back side.  


On the upper part of the door panel, the right side of this picture, is a stamped steel plate that's stapled to the cardboard panel.  These are beefy staples that go through both the steel and the cardboard.  These are not easily removed and I haven't a clue how the staples would be reinstalled.


Here is the sheet metal piece.


After sand blasting and painting I did a dry fit to the door.  No issues here.


I decided to use industrial grade contact cement to bond the sheet metal to the door panel.  It's very strong.   The hockey stick and other pieces were  attached to the new panel.


After the door panel was hung I installed the window cranks, door knob, arm rest, and door lock.  I am pointing at the door lock.  This reflector twists to lock and unlock the door.  It's pretty cool.


I worked on the passenger door but I can't find the old door panel.   I don't know if it's misplaced or I never had it.  I emailed Dennis S. in Hawaii to find out if he remembers.  No luck.  Neither of us can say for sure one way or the other.  So, I am going to assemble the door knowing it has to be redone after CDN.


It looks nice but it's lacking the upper sheet metal and the hockey stick.


So, the doors are ready but the seats are not done.  Thursday night I'll take the Corvette to Dairy Queen for what many believe is the best CDN event.  Richland shuts the street down making way for hundreds of classic cars.  I'll post pictures Friday.

That's it guys.  We are almost done.

Hope to see you there Max!  You too Ty!
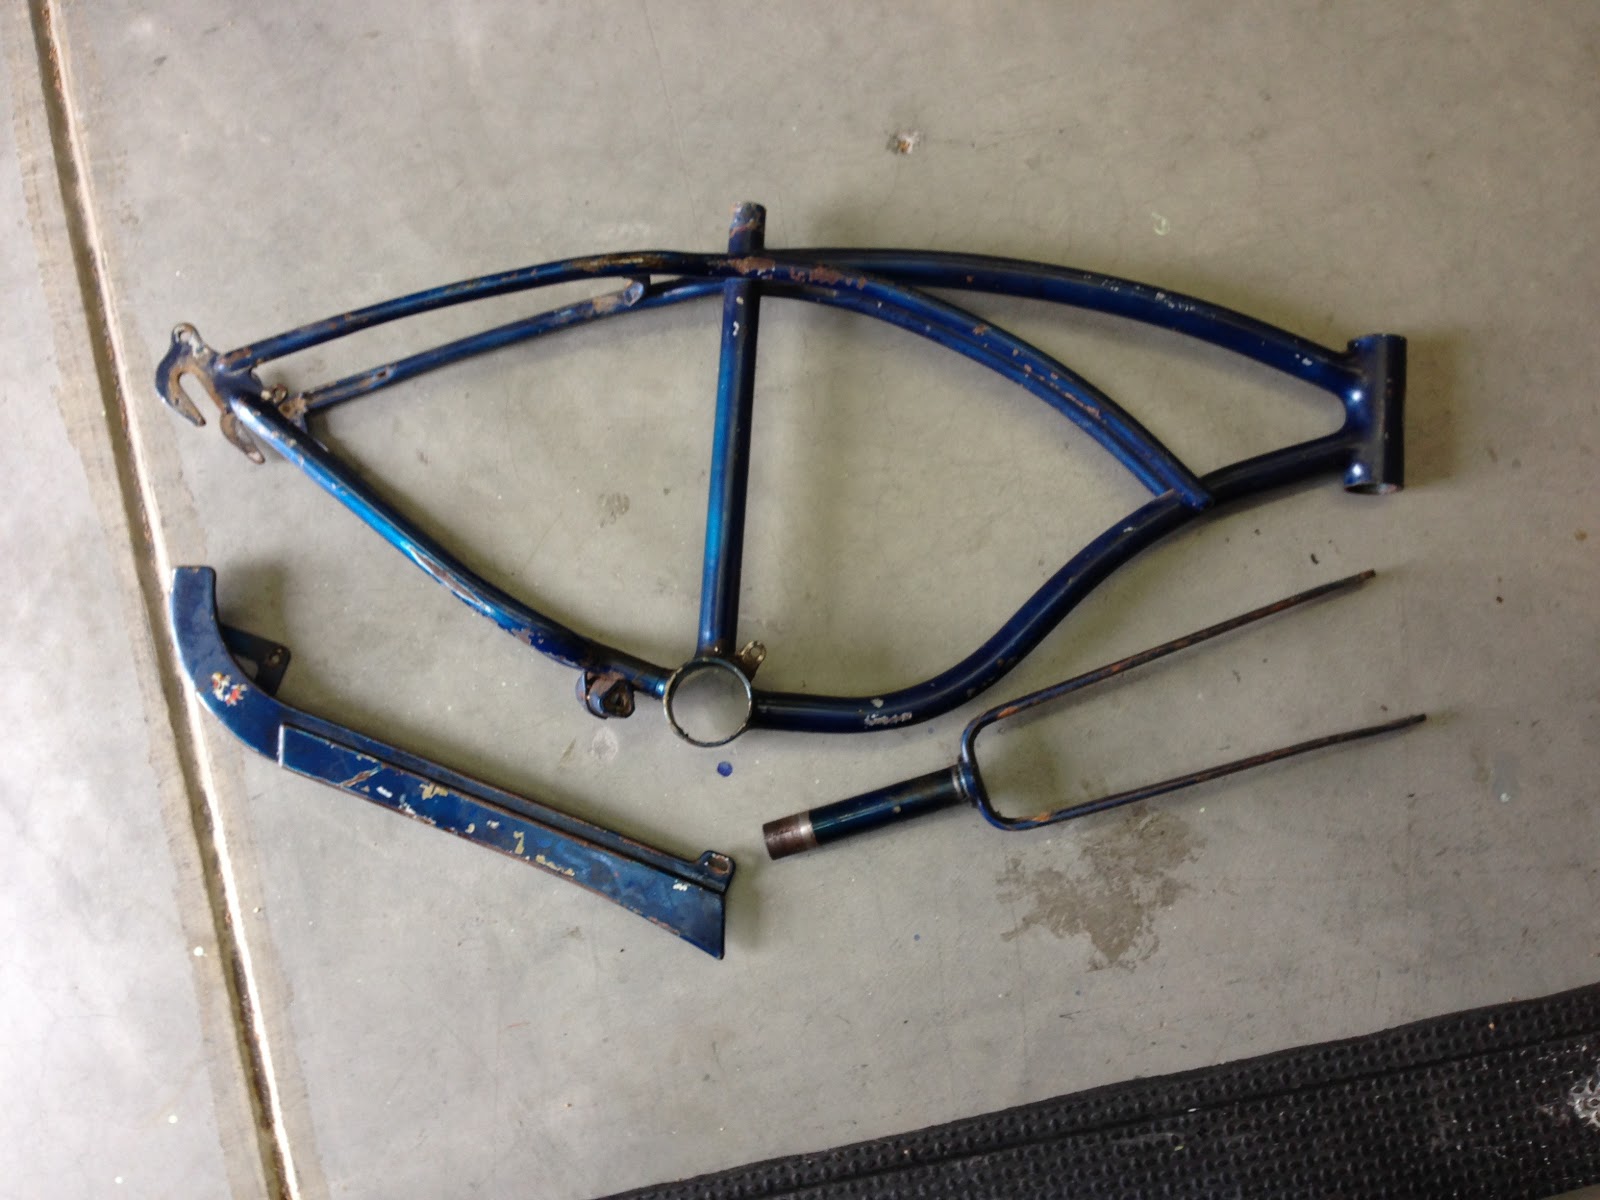

My Distraction

Ta-da.

Monday, June 10, 2013

Getting Ready for Cool Desert Nights 2013

Over the last several months the Corvette collected a lot of grunge from sitting in the garage.  Dust, finger prints, over spray, and grit from the blast box mostly.   After a good bath at the car wash I spent most of the weekend wet sanding and polishing the paint back to its original condition.  I'll wait till Cool Desert Nights to show you pictures.  CDN 2013 starts June 20th.

I did get to work on the headlight bezels.  I used the same paint and process as on the car. 


They turned out nice.  Now I need to make brackets to attach them to the headlight buckets.


Sun visors come in either Coupe or Roadster models for 1964 to 1967 Corvettes.  63's came in the roadster model only.  So even if you have a 63 coupe you have to specify roadster.  Surprisingly, Al Knoch Interiors got it wrong which means these are incorrect.  Al Knoch has been contacted and they agree.  Replacements will be mailed later this week.


I am still waiting for the burlap that goes between the seat foam (shown) and the seat frame.  I am assured they will be mailed Wednesday.  That leaves little to no time for assembly.  Even I am interested in knowing what happens to the seats for CDN 2013.


I have the leather covers and they look great.  Just need to get them installed.


Seat frames are done and ready.


I did install some of the interior trim.  I even installed the rear view mirror.


That's pretty much it.  Aside from upholstery, I'll be detailing the car for CDN. 


My Distraction

The Schwinn Stingray is looking pretty good too.

Sunday, June 2, 2013

Door Windows and Electronic Ignition

I put off the side window installation because I thought it was going to be difficult.  I was right.  It took 10 hours and multiple attempts before I finally finally figured out the correct sequence.  The door goes together like a Chinese puzzle box.  You may get most of the pieces installed but there seems to always be at least one piece left over.  For those that might be visiting this site to find the proper sequence, I'll be a little more detailed than usual.  There may be other ways, this is my way.

I polished the glass and installed new rubber molding.  I rebuilt both geared wing window mechanisms and the main side window actuators.  Lithium grease was used on all moving parts.

The first piece installed is the main side window actuator including the small track shown in the lower left of the picture.  After this is installed crank it down as low as it will go.


Next is the wing window chrome molding and the wing window, in that order.

The chrome molding can be held in place with tape.


The wing window and chrome  are fastened with 4 screws located under the door weather striping.


Next is the window channel.  This is held in place with push snaps only.  For now, the lower pig tail will hang loose.  This is a key step, it must be loose otherwise the window will not fit in the door.


Next the window is lowered into the door.  Hold the rear of the window a little higher than the front otherwise it won't fit.  Once it's inside the door put it in the window channel then push it all the way up.  I used duct tape to hold it in place.  Now roll the window actuator up so the rollers can be installed in the window track.  There are strategically placed holes in the upper part of the door that allow access to the nuts. 


The final piece is the lower rear tract channel.  You'll need patience for this one.  When installed, the pig tail goes in the channel and gets fastened with a sheet metal screw near the bottom.  That's it.


Both sides are done and the windows did add some weight to the doors.


The doors shut even better now.  They're very solid.


I also replaced the points with this electronic ignition kit.  It took about an hour and it works great.  No more filing points, setting gap or adjusting dwell.  
  
That's it.  Thanks for watching.

Monday, May 27, 2013

Interior Trim, Door Sills, Glove Box Door and a Distraction

I spent the last couple weeks with family in Wisconsin.  Max H reminded my wife that I have an obligation to my blog followers and I need to provide an update soon.  Here you go Max!

The interior trim was primered, sanded, then primered again on all sides. 


All sides were painted with Por15, the same paint I used on the speaker grill and dash cluster.  I'll let this dry for several days before I start assembly.


Door sills are usually fastened with sheet metal screws.  I decided to use Rivet-Nuts instead.


The door sills look great and really add to the finish of the interior.


The coil wire now has 90 degree caps.  The distributor and coil are ready for radio shielding.


But first I need properly made mounting brackets.  The reproduction on the left has a mounting plate installed incorrectly.  The one on the right is correct.  Errors like this are not uncommon with reproduction pieces.


Same thing for this bracket.  The one on the top is correct.  The one on the bottom is incorrect.


The radio shielding is very difficult to install.  It's no wonder most of these were removed and never reinstalled.  The remaining shielding I have is incorrect for a 63.  That will be added to my to-do list.


I have 4 used glove box doors.  None are of the same quality as our build.  This is the best one I have but it's for a 64 Corvette and it has a few blemishes.  I am not tickled with it.


Gerri bought me a new Trim-Parts 1963 glove box door for my birthday.  How sweet is that?
It looks much better and I feel much better!

A NEW DISTRACTION
While in Wisconsin I picked this up.  Anybody know what type of bike this is?


It's my new distraction.  Come on guys, you know what this is.


CDN 2013 Update:  I believe I am still on track for Cool Desert Nights.  I need the seats upholstered and the side windows installed.  Al Knoch Interiors still owe me seat parts from over a month ago.  If anything is going to be iffy it will be the seats.  Wish me luck!