Translate

Tuesday, August 28, 2012

Corvettes of Carlisle - 2012

Yep, Gerri and I flew to Pennsylvania and did Corvettes of Carlisle, the largest Corvette event and swap meet in existence.  Check out the highlights (from my perspective):

Yes, that's Ty, his wife Bonnie and Gerri.  Ty and Bonnie had us over for the weekend.  Visiting Carlisle was one of the many things we did.  We all had a great time. 


Over the last few years several people have asked why I took on such a needy project.  I had never really questioned it but at some point I guess I started wondering the same thing.  That was until I saw this guys project.  Take a look at the 4 before pictures then look at the completed car in the background.  What this guy did is truly amazing.  Now I feel just fine about our project.  I have no second thoughts at all.


Another view of Corvettes of Carlisle.  I took this picture because I was able to get all 3 empty spaces at the show in one photograph.


This is a really cool race car.  I took this picture because it's what Ty is going to build when he retires.


This was my favorite car at the show, hands down.  If I had had these pictures a couple years ago they would have helped with many aspects of the restoration.  A and B pillars come to mind. 


As I understand it, it's the actual vehicle that GM used at exhibitions.  The cut-aways are awesome.  Check out the transparent valve cover.


I wish I had taken more pictures.  This car is super informative, especially for those that might just be starting a C2 restoration.  I bet if someone tried they could get enough information off of the plaque in the picture to find a web page that has more pictures.  That's a challenge for my blog buddies.  If you find a web page let me know.  I'll post it. 


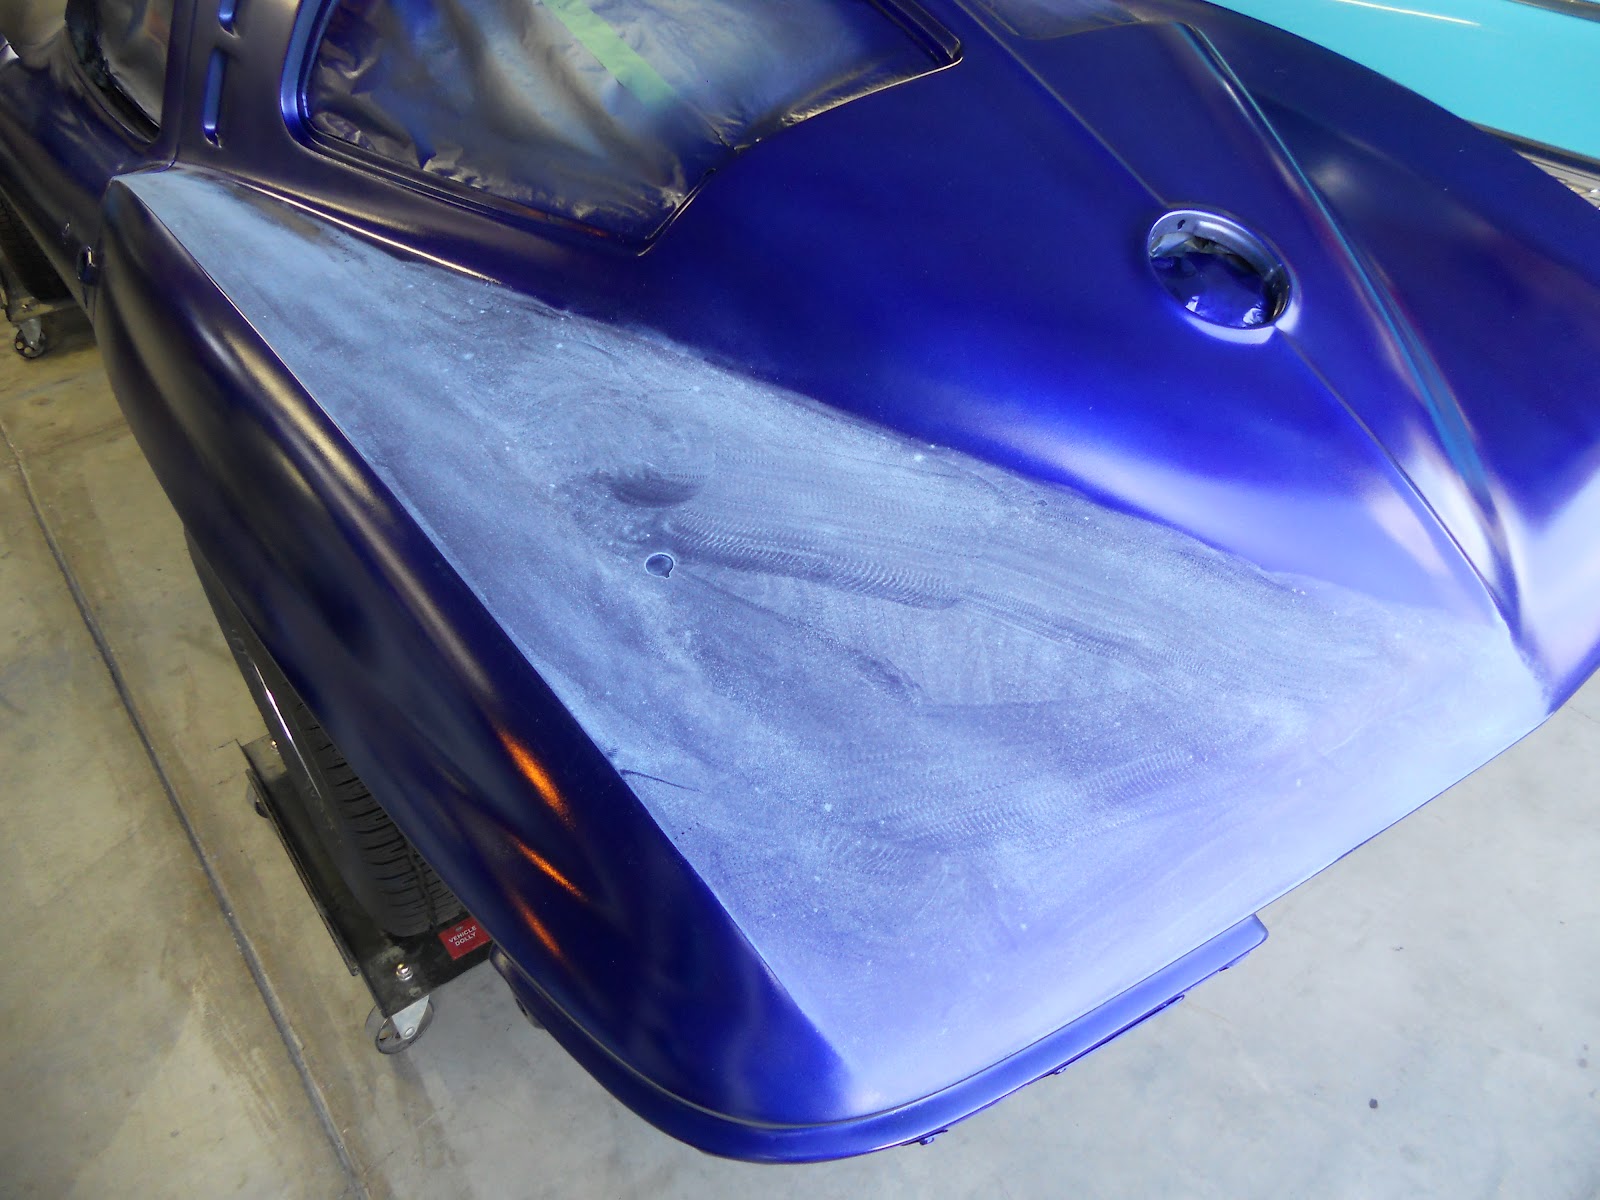
And finally, I thought I'd post another video.  It's much like the one I posted earlier except this one is narrated by Gerri.  I believe she confirms the color as blue.  Check it out by clicking this link.

Gerri Discusses the Color


That's it.  Work will resume this weekend.  Thanks for watching.

Wednesday, August 22, 2012

Paint - First Sunlight

I've been looking at the car since I painted it and I've been puzzled about what the car would look like in direct sunlight.  Under the florescent lights in the garage it looks blue from one angle then purple from another.  I am not crazy about purple and I fear I might have to repaint.

So, I put on the side exhaust and backed the car into the sunlight just a few minutes ago.  It's blue, it's stunning, and it's not purple.  I am a happy camper.  Check out the video by clicking this link:


Ignore the streaks.  They clean up with a rag.


It's in the sun but looks dark royal blue from this angle.


From this angle it's very blue.  Gerri said, "Wow, it's beautiful."


"Oh my goodness."


The racing stripe is really ghosted, pushed really deep.  Leave a comment and let me know if you think it should be more visible.  It's not too late to do so.


Again, you have to ignore the streaks.  It's just dirty.
I see a little purple in this photo but I assure you, It's BLUE!

Although there will be little work done on our car over the next few days, I will publish a Corvette related post that I am sure you'll want to see.  Check back in a few days to see the mystery posting.

Thanks for watching. 

Sunday, August 12, 2012

Paint - Clear Coat

It took a couple days to wet sand and scuff the entire car.  When it was done it looked blue with a touch of purple.  This is just before I started painting.  Note that I didn't use plastic or tarps for the "paint booth".  I was getting debris in the paint with the booth so I decided to try it without. 


I added two more medium coats of Cobalt Kandy to push the racing stripe back and to darken the blue.  That was followed by 3 coats of clear.  I still ended up with some debris in the paint but it wasn't any more than I had with a booth.  A big shop fan kept the garage well ventilated.  All in all it worked well.


I am so glad I covered the motor with plastic though.  Note the blue on the underside of the hood.  It wipes away with a rag so it's not an issue.
This is not chameleon paint but it does shift in color depending on the light.  With the garage doors open it does have a hint of purple.  It looks really good.


With just the garage lights on it blue.  A very very deep blue.  It is also very nice.


Other than dust nibs and the occasional piece of debris, the paint is laying very flat with very little orange peel.  Note that the racing stripe is barely visible from this angle. 


It looks great from this angle too.


Take a close look at the front fender.  You can see purple.


I am really pleased with the racing stripe.  It's ghosted to just my liking.  Double click on the photo and see for yourself.


The paint looks dark, dark blue from this angle.  It's sweet.


The garage doors are closed in this picture and the shop lights are on.  The car is almost black yet the racing stripe is nicely visible from the rear of the car.  I like it!


As much as I'd like to start bolting things on the car I need to cut and buff the clear coat.  This will remove dust nibs, orange peel (there isn't much) and debris.  It will make the paint job very nice.  Hopefully I won't wet sand through the clear coat.  If I do I'll have to clear coat again.
The color looks great though!

I'll be preoccupied for the next few weeks so don't expect substantial postings during that time.

Thanks for watching!  

Saturday, August 4, 2012

Paint - Cobalt Kandy Blue

Jim Q. asked about how I was going to deal with the transition between the paint in the jambs and the paint on the car.  I used a split foam ribbon which is suppose to eliminate the hard edge left by masking tape.  It adsorbs the paint.  I think it will work well but I won't know for sure until I am done spraying.


The paint booth was set up again but this time I used new tarps on the floor.  The old tarps were dusty and they had dried paint on them, some of which made it in the paint last week.  This should help.


Two medium coats of Cobalt Kandy Blue were applied with 75% overlap followed by three medium coats with 50% overlap. The idea is to change up the spray pattern so stripes don't develop.  Clear coat was not applied.


The racing stripe is nicely ghosted.


Head on it's obvious we have a strip.


But from the side it's not so obvious.  That's a reflection of the garage doors.


Looks good from the rear.


From this angle you can't see the racing strip at all.


Or this angle.


I grabbed a flashlight to make sure we still had metallic.  We do!


 I found a couple runs, a bug or two, and a sprinkling of dust in today's paint job.  So instead of clear coating I decided to stop.  I'll sand out the imperfections over the next couple days then clear coat after that.  It's not what I had planned but it's the right thing to do.  So, until I clear coat, the paint is not finished.


The good news is the car is close to the right color.  It may need one more coat of Kandy but that's yet to be determined.  The bad news is I can't assemble the car yet.  Bummer.

As always, thanks for watching.

Sunday, July 29, 2012

Paint - Racing Stripe

Before anything can happen I have to remove all the gloss from the car otherwise additional coats of paint won't stick.  I wet sanded the whole car with 800 grit sandpaper then followed up with several maroon scuff pads.  Every little spot of gloss must be removed otherwise no-sticky.  It's important.


Layout begins with finding the center of the car.  Several measurements were taken over the length of the car then double checked with an eyeball and a thumb.  Over the last couple years I've collected several examples of 1963 racing stripes.  I printed these and used them for inspiration.  I decided to use a 6" center stripe bordered by 1/2" stripes.


The stripe width will remain constant from below the front grill all the way to the rear valance.  It will not taper.  It was after 1963 when tapered stripes became popular.


I used Tape & Drape plastic sheeting from Sherwin-Williams to protect the car from overspray. 


Just before paint is applied I like to burnish the green masking tape with the edge of a credit card.  This helps insure a tight bond preventing bleed through.  I also wipe the surface with a post sanding solution to remove all finger prints, sweat, dust, etc.


Three medium coats of silver metallic paint were applied.  An interesting characteristic of metallic paint is it can't be sanded or scuffed otherwise it will scratch.  That poses a problem because I'll want to scuff the stripe before I apply more Kandy.  The fix is Intercoat Clear, a clear coat typically used to cover graphics.  Two medium coats of Intercoat Clear were applied over the metallic while it was still tacky.  I'll be able to scuff the Intercoat Clear without any issues.      


Looks good to me.


Now the fun begins.


Whoo hoo...


My goodness...


The bright blue and the silver racing stripe will become a lot darker when I apply the final coats of Kandy Kobalt Blue.   The racing stripe will become ghosted.


The racing stripe was fun.  I enjoyed it and I like the results.

Thanks for watching.

Sunday, July 22, 2012

Paint - Lapis Blue

It's finally time to start painting.


The car was put on jack stands then the tires and exhaust were removed.


Plastic was hung around the perimeter of the garage, in the wheel wells and underneath the car.  


Two medium coats of primer sealer were applied and allowed to dry for 1 hour.


3 Medium coats of Lapis Blue were applied then allowed to dry for 1 hour.


Kandy Cobalt Blue will be applied in two phases.  Phase 1 is 3 medium coats while Phase 2 is 3 heavy coats.  This picture is Phase 1.  I will stop here and let the paint dry for several days then wet sand any nibs or other imperfections.   After that I will mask off and apply the racing stripe.  Once that is done I'll shoot the entire car with 3 heavy coats of Kandy.  That will ghost the racing stripe and give us the dark Kandy blue we want.  


I put the wheels back on the car and cleaned up the garage.  It took about 12 hours to get to this point, most of it wearing a respirator.  It was hot and miserable work.  The body lines look great, the color is interesting but way too bright.  Phase 2 will fix that.    

I hope to pick a cooler day for Phase 2.  It's good to see color going on the car but this is not the color we want.  Can't wait to get that deep dark Kandy applied.

Thanks for watching.