Translate

Saturday, June 16, 2012

The Hood Continues (with a post script)

If you think about it, both sides of this hood have about as much surface area as the roof, both of the doors, and then some.  No wonder it's taking so long to finish this thing.

The top of the hood has been primered 3 times, block sanded and guide coated in-between each coat.  I let it dry for a full week then went over it with a red scuff pad to help the adhesion of the black primer sealer.


Two coats of black primer sealer were applied and allowed to dry for several days.


Then I flipped the thing over and continued to work on the underside.

Now here's the problem.  I know it's the underside of the hood and I know nobody is going to pay it any attention.  Yet I find myself giving it almost the same amount of attention as I did to the body of the car.  Look at the sanding discs I am going through.  Yes, I am block sanding the underside as well... but what the heck.  I bought the car to keep me off the couch and it's doing that.


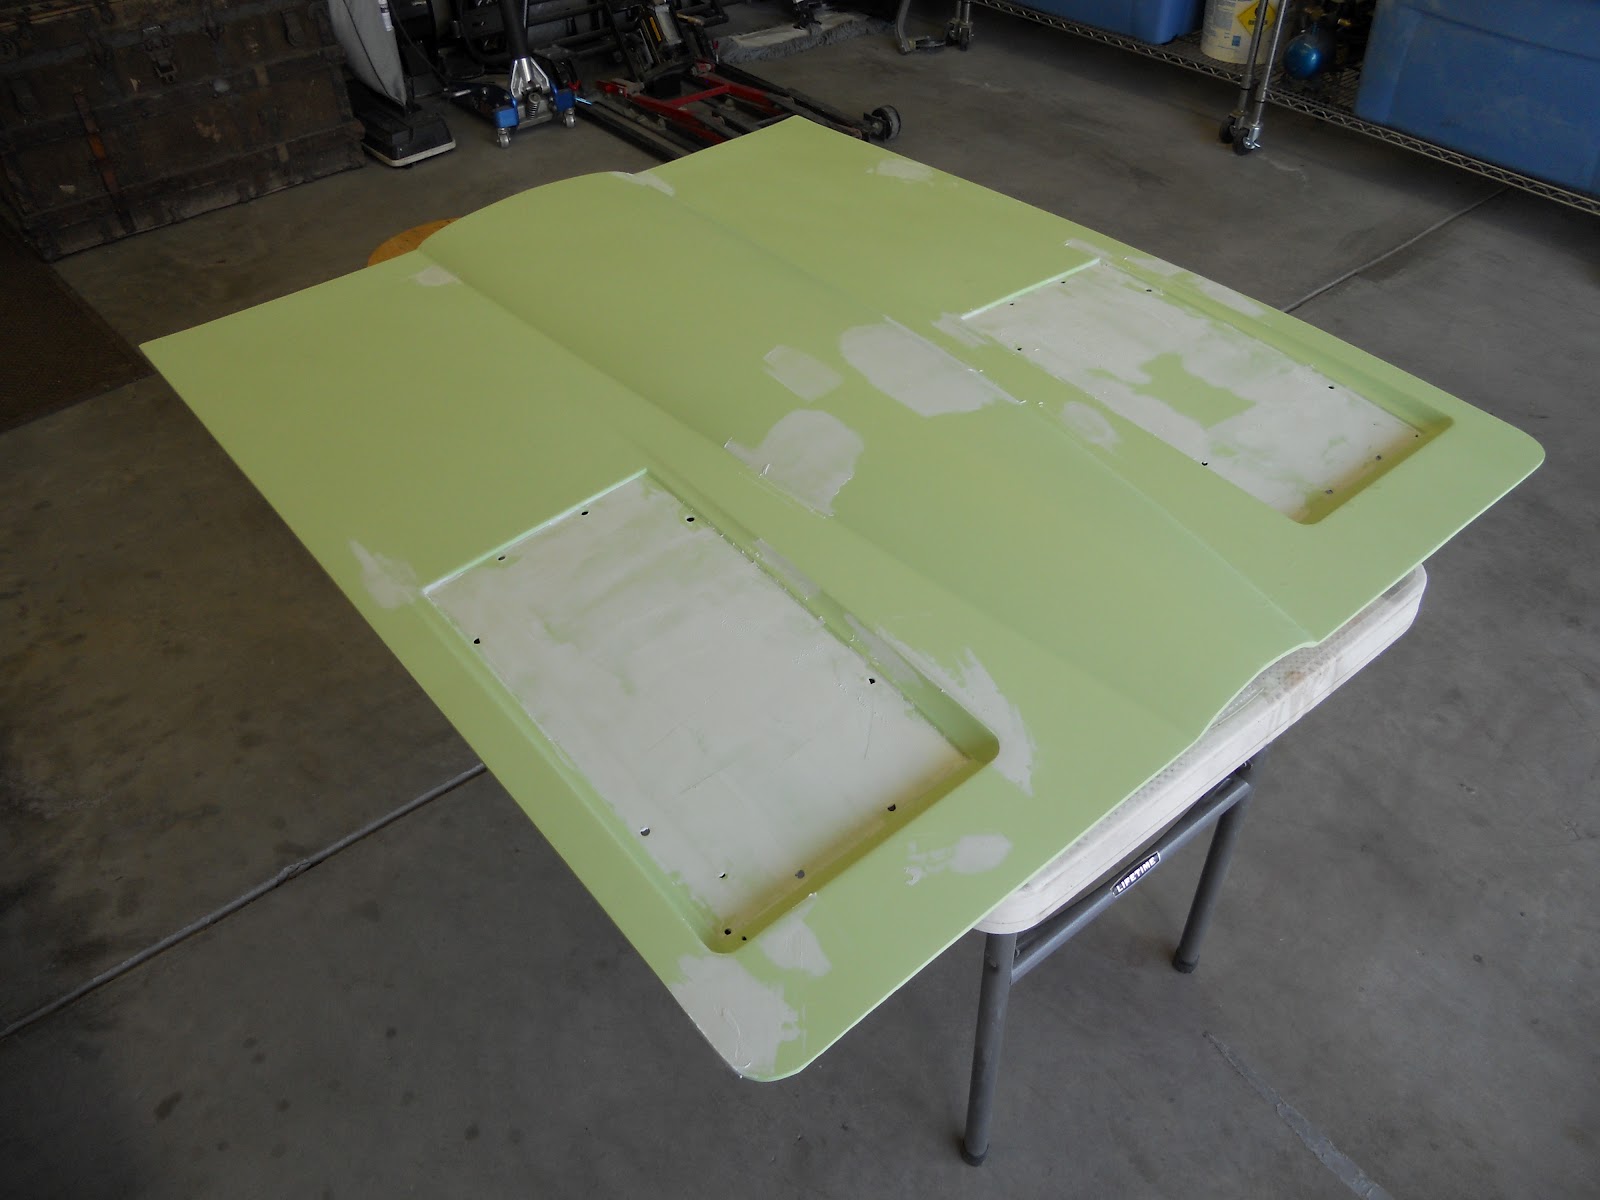
Here it is after it's first sanding.  We still have a few spots of fiberglass showing so I'll add more primer.


Here it is, re-primered, re-sanded and ready for primer sealer.


The primer sealer really only needed to be applied around the perimeter of the underside of the hood since that's the only place that gets color.  But I had a little extra primer left over so I sprayed the center section as well.  The center will be painted with Por 15 Chassis Coat Black, the same stuff we used on the firewall and inner fenders.


Three medium coats of Lapis Blue were sprayed around the edges.


Then several coats of Cobalt Kandy Blue were sprayed followed by several coats of clear.


After drying for about 12 hours I started masking with 1/4" tape as shown.  This was followed by 1" tape.  This "two tape" method allows nice tight radiuses where the 1" alone can't do it.


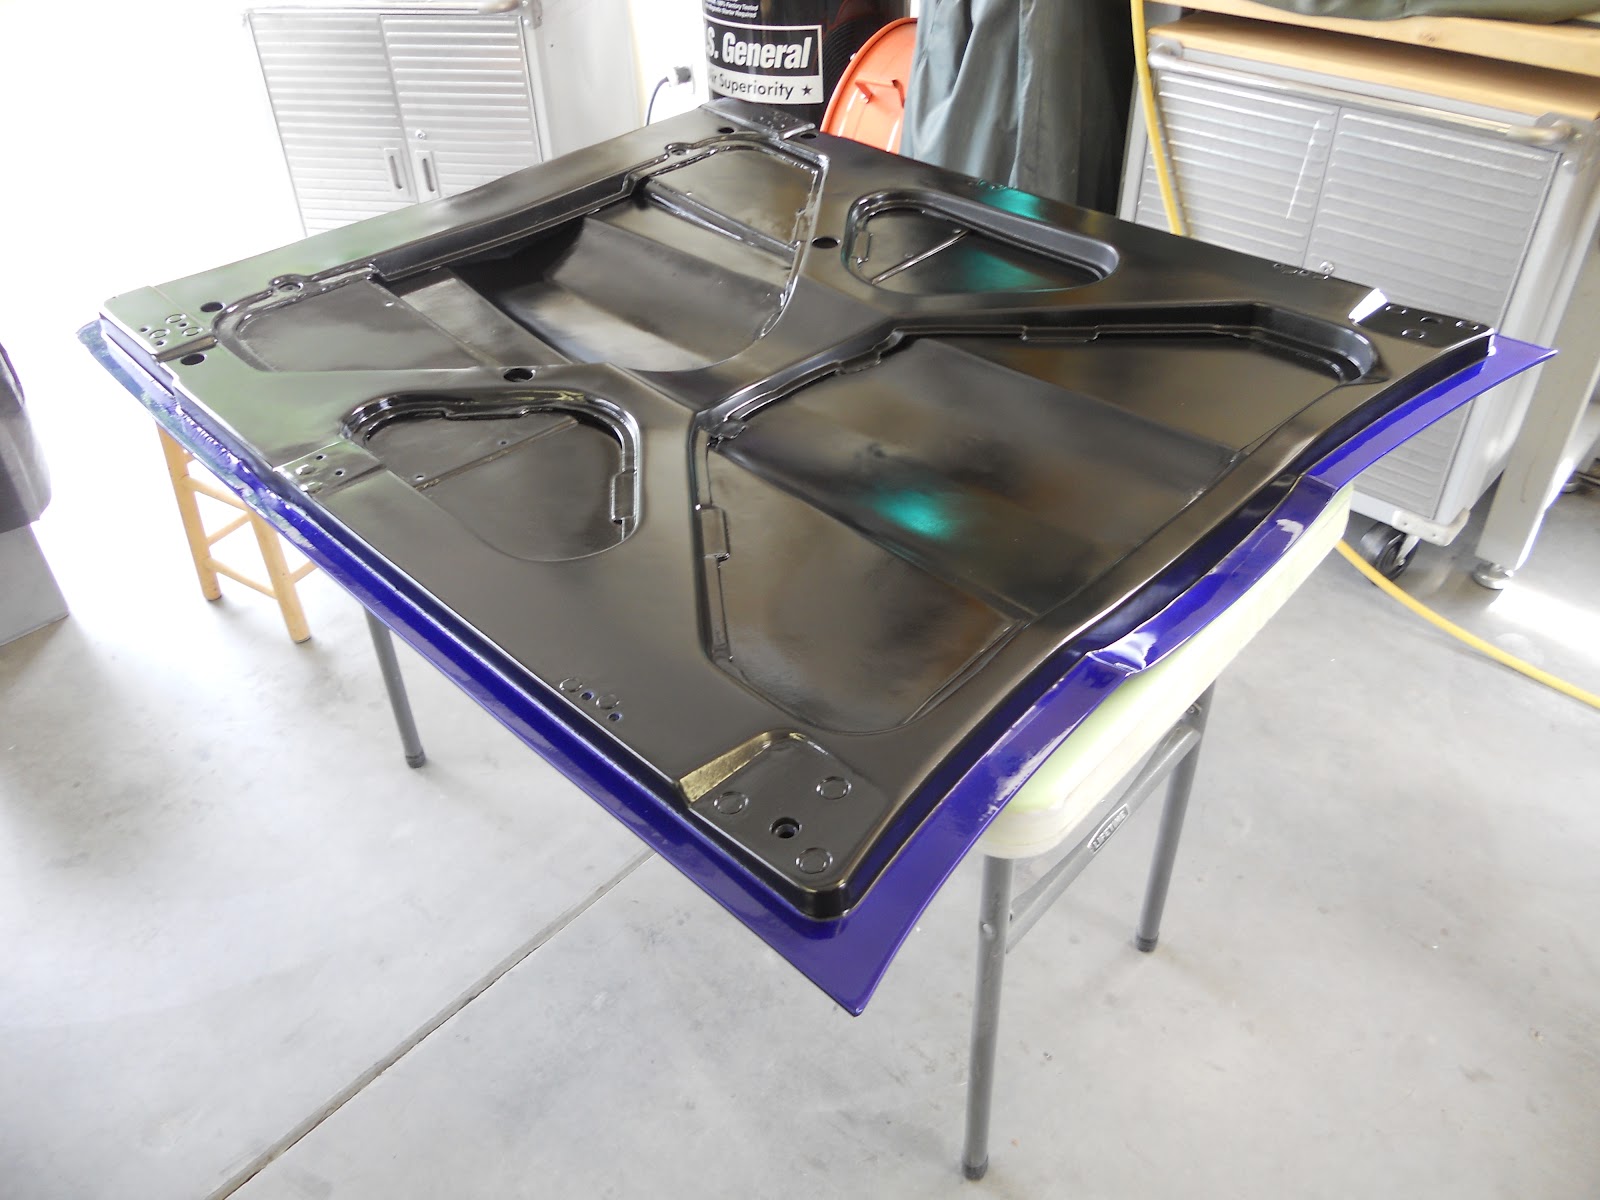
Everything was then scuffed to remove all gloss.  The area was cleaned with a wax and grease remover then all the holes and threaded areas were plugged with foam ear plugs.  A final blast of air removed all lint and debris making the underside of the hood ready for paint.


3 medium coats of Por 15 were applied then allowed to dry for about an hour before the ear plugs and masking tape were removed.  I'll let this dry for at least a day before I put it on the car.  Hopefully it will fit as well as the 67 hood we were going to use originally.  Wish us luck on that! 


Thanks for watching.

Post Script:

Brother Jim asked for a couple pictures of the 63 hood in the early stages of repair.  This hood had major damage caused when it buckled during a head-on collision.

These repairs are representative of about a dozen repairs made on the underside of the hood.


Sunday, June 3, 2012

Headlight Buckets

I am alternating between the headlight buckets and the underside of the hood.  Since I've already done several posts on the hood I though I'd show you the work on the headlight buckets.

1963 Corvette headlight buckets are the only year that had fiberglass skins.  All other years are made of sheet metal.  That said, there is still a lot of metal in our buckets and it needs attention.


The hole on the right is a rust hole.  A metal patch piece is my choice for the repair.


The rusted area was cut out, squared, then a matching piece of metal was inserted.


Tack welds were used until the entire piece was welded in.


I ground the weld crown then later applied JB Weld to fill the nooks and crannies.


Another needed repair was a corner of the headlight bucket that had chipped away.  A Popsicle stick was wrapped in duct tape to make a form for fiberglass and resin.


Here is the chipped corner after the repair.  It's nice and strong.


The buckets were block sanded then prepped for another coat of primer. 


Now we let the paint dry.   A little later I'll glaze and guide coat.  You know the routine.  


Pictures of the underside of the hood will be next.  It's coming along nice but boy did it need work.

As always, thanks for watching.

Monday, May 28, 2012

The Hood - Round 2, 3 & 4

I know, I am anxious to get the body painted too but we can't paint with candy color unless the car is fully assembled, otherwise the paint is likely to mismatch between components.  Everything has to be painted at the same time.

 I set the 63 hood on the car and noticed it didn't fit as well as I thought it should.  It was then that I realized it was the 67 hood that we fit to the car last year.  So, without bolting the 63 hood down and spending a lot of time shimming to verify fit, I decided to just go ahead and work on both hoods at the same time.  If one doesn't fit the way we want, the other one will.  Lets hope the 63 will be fine.


The hood didn't need any Bondo but there were several areas that needed a little help.  I decided to squeegee on the Icing filler.  I did small sections at a time since there is only about 3 minutes of working time per batch.


After the entire hood was done (less the cookie sheet areas) I hand sanded everything using several different sanding blocks until the hood was smooth to the touch.  The white spots are filling very shallow nicks and gouges that were made with the grinder and scraper when we removed the paint.


I sprayed the hood with two part epoxy primer then...


I decided to smooth the cookie sheet areas even though they get covered up.  I applied Icing ...


then sprayed a contrasting primer so I could start the guide coat process.


Yes, I am doing both hoods at the same time.


Guide Coat takes a lot of time, especially when it's all done by hand.  If you look in the cookie sheet areas you can see there are still low areas (red spots).


So I  squeegeed the Icing and filled in those areas too.


I primered again for the second time.


Sprayed contrasting primer ...


Then did a second Guide Coat.  You can see there are very few areas where I sanded through the primer.  That means the surface is getting super smooth and super flat.


I primered the hood again for the third time.  All the hood needs now is a quick sanding then it's ready for primer sealer.  But before I do that I'll let this thing dry for a good week.


All this attention to the hoods is excessive and I know it.  A body shop would have been able to do something comparable in a 10th of the time.  Fortunately, I am not a body shop and I don't care if I am being excessive.  Besides, the attention to the hood matches the attention Ty and I gave to the body.  At least I am consistent.

I have 7 quarts of various paint on order and it's all for the "paint job".  But before we do that we have to do the underside of the hood, both headlight buckets and the rear exhaust valance.

Thanks for watching!

Sunday, May 13, 2012

The Hood

Over the last year we have spent many hours repairing this 1963 hood.  The hood was bought locally and it had lots of issues.  Not only had it been in a head-on collision, the tow company used a reciprocating saw to remove the hood from the wreckage.  It was ugly.


Over the last few weeks I've been working on both sides of the hood.  This includes grinding, fiberglassing and sand blasting.  All the work was structural, nothing cosmetic. 


You can see some repairs made to the top of the hood... 


But most of the repairs were made to the underside.  There were many cracks and holes all of which needed attention.  This is a representative repair that was stuffed, plugged, ground then later laminated with fresh fiberglass.  There were several of these.


This was a soft edge that needed to be built up then ground down to restore the edge. 


When the repairs were complete it was off to the sandblaster to remove more of the old paint.  200 pounds of sand were used in total.


It turned out nice.  In this picture there are at least a dozen repairs.  It's looking good.


Here's the fuzzy hood I mentioned in the last post.  It's paint remover hard at work.  It removed about 70% of the old paint, the remainder required sandblasting and hours and hours of hand sanding. 


It took a long time to get to this stage.  The good news is the hood is structurally sound and I have no issues using this hood on our 63 Corvette.


The bad news is we haven't  even started the finish work... Bondo, green primer, block sanding, etc.   


Thanks for watching.

Sunday, May 6, 2012

The Doors - Part 2 (with a Post Script)

The primer has been drying for a full week so it's time to guide coat.


A contrasting primer was lightly sprayed and allowed to dry.  I used my 6" DA (dual action) sander on the large flat areas.  In this picture I just finished the lower half of the door.


I changed to a 3" sanding disc to do the curved areas.  This includes the area above the center line and the very top of the door.  Care must be taken not to sand any edges or corners with the DA otherwise you'll likely sand through the primer.


Hand sanding was next and that was followed up with a maroon scuff pad.  Fortunately we didn't sand through the primer so we are ready for the primer sealer.


I used a wax and grease remover and a post sanding cleaner before painting.  These products are recommended by House of Kolor so I use them.  A couple coats of primer sealer was applied to both doors.


I am certain hanging the doors is a two man job but I was able to do it alone using my motorcycle lift.  I put a padded Lazy Susan on top of the lift then jacked the door up to height.  It worked great.  Two would have been better but this worked fine.


It took a few hours to hang both doors.


All the body work really paid-off.  I am sure this fit is better than the 1963 factory fit.


It's sexy.


The primer sealer will be allowed to dry then I'll scuff the paint to match the rest of the car.

Admittedly, there are a couple areas on the doors that require attention.  There is one spot on the driver side door that doesn't transition well to the body.  It's only about 2 inches long but it will need to be stripped back to bare fiberglass for a proper repair.  The other area is just a general clean-up of all the door to body joints.  You can see some of it in the photo above.  Cleaning up the joints will only require a few swipes of the sandpaper but that act will require us to rethink how the inside lip of the doors will be painted.

I am also working on the hood so I'll post pictures of it soon.   Be forewarned, it's fuzzy...


Post Script


Here are pictures of the repaired transition area.  This is a blurry photo but it shows how the body line doesn't transition well between the door and the body.  The body line on the door became soft from too much sanding.  The door is on left side of the picture.


I decided to make the repair using our Icing finishing putty.   I protected the body with tape then bridged the gap using a plastic spatula.  I cut the putty at the gap with an Exacto knife just as it started to set.


The transition between the body and the door is now very nice and the body line is identical on both sides.