Translate

Friday, March 1, 2013

Windshield Wiper Motor (Revised)

FYI - This is our 200th posting.
While I wait for dash parts I thought I'd check out the windshield wiper motor.  I bought this motor months ago on eBay.  The motor was sold as a core in unknown condition.  I got it cheap and I intended to have it rebuilt.  A rebuilt 1963 wiper motor without core can go for $500 to $600.


It looks dirty but other than that...


I opened it up out of curiosity and found good looking internal.  The grease was old but everything looked pretty good.  So I grabbed a 12 volt battery and tried to make it run.  Success!  Both speeds! 


Using carburetor cleaner I was able to remove all of the old grease.  Surprisingly, the gears and other mechanism look like new.


The windshield washer pump end cap has a hole in it so it's toasted.   But this part is easy to replace.  I removed the working parts and cleaned them as well.  Everything was re-assembled with waterproof silicone grease.  


I cleaned the outer case and stamped steel parts using crushed walnut shells in my blast box.  I masked the parts then applied a fresh coat of paint.


All I need is a missing rubber boot behind the wiper arm and...


I need the end cap for the washer pump.  Other than that, this thing is done.


With the money saved I think I'll shop for a clock for the dash.  The one I have died a horrible death in Hawaii.  The salt air destroyed it.  Yeah, maybe a clock...


POST SCRIPT

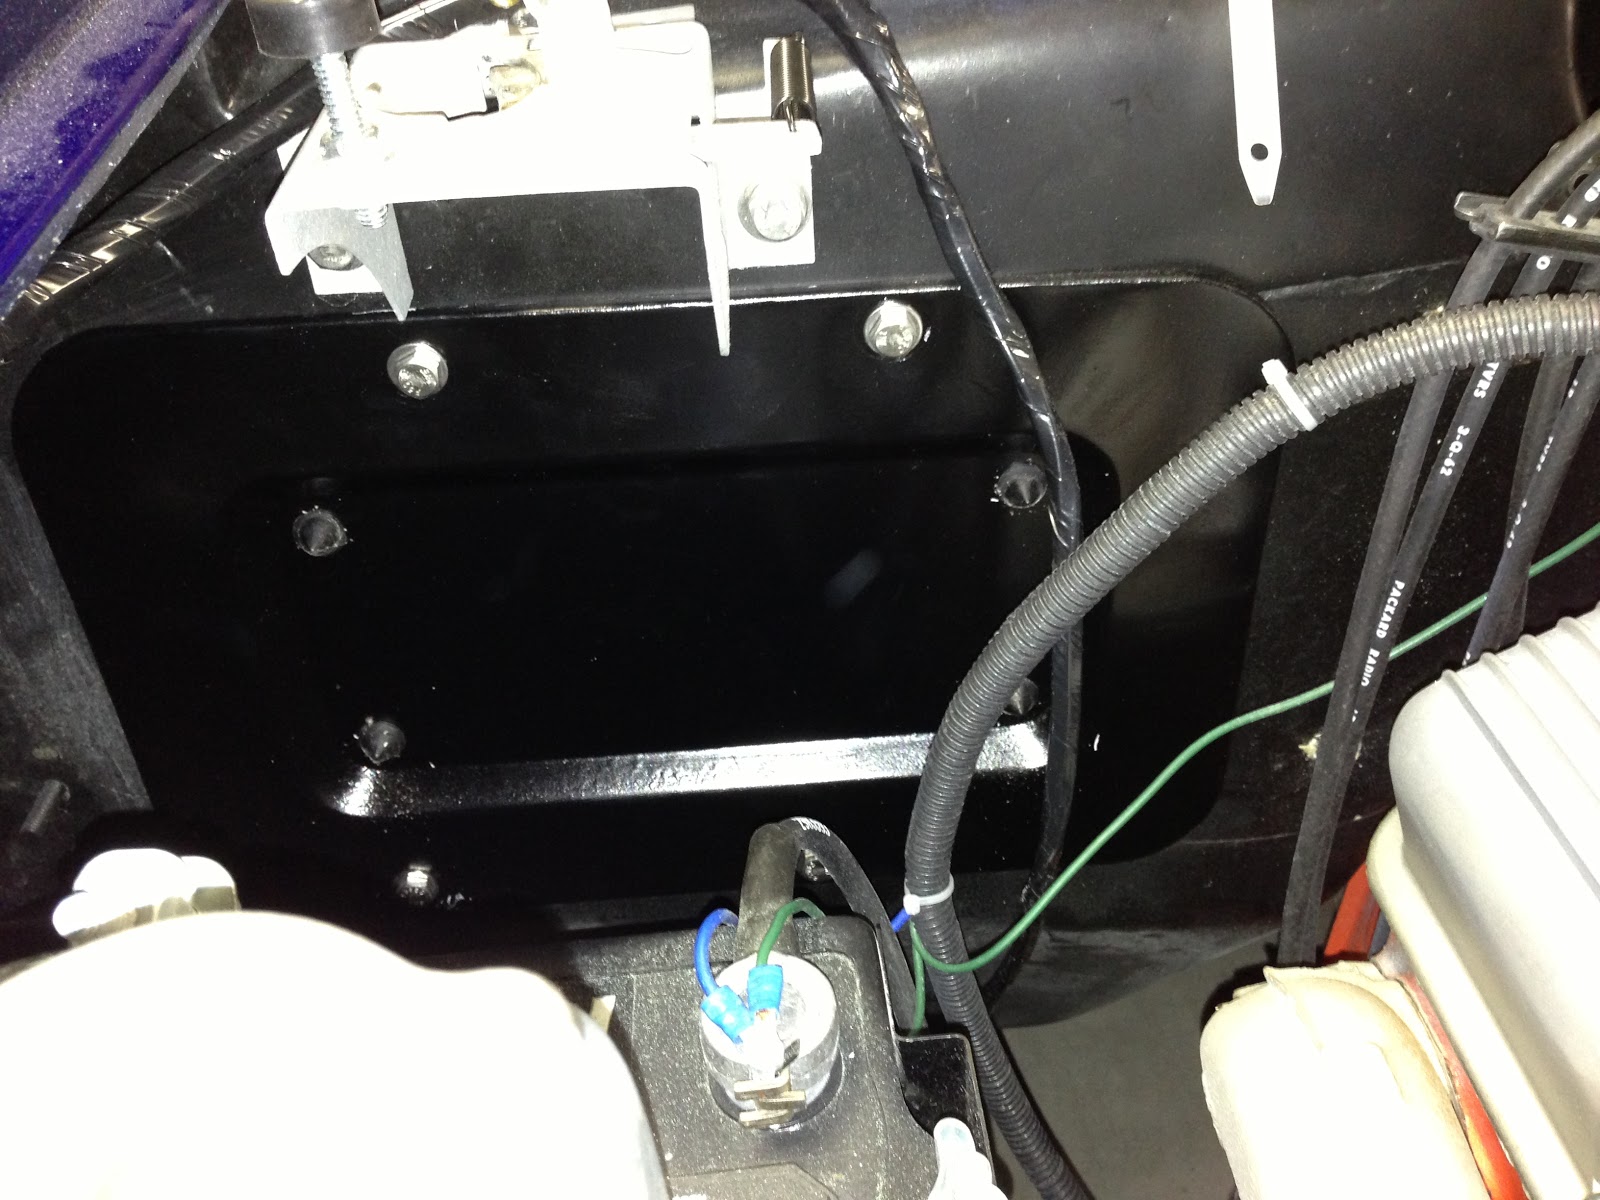
Turns out this wiper motor does not fit a 1963 Corvette. A 63 has 4 mounting positions, not 3 as shown.  So, watch for a future posting as I try to get this sorted out.  Dennis K and I will have a booth at the Portland Swap Meet this year.  You can bet this motor will be on the table.  

POST POST SCRIPT
By popular demand, the clock that died a horrible death.  This is all that's left:


Friday, February 22, 2013

Dash Cluster

Here is our 63 dash cluster shortly after the gauges were removed.


Everything below was done twice.  The first time I used rattle can paint which had ugly results.  The paint was too thick, too shiny and the masking tape left marks.  I sandblasted everything off then started again. 

The bezels, simulated leather backing, outer trim, switch receptacles and lettering are one piece of aluminum.  There are no pieces.  In this picture I taped off the simulated leather backing then spray painted the same House of Kolor 2 part epoxy primer I used on the car.  


All the bezels were sanded smooth.  You can see where the primer filled in the pot marks and blemishes.  This gets another coat to make sure all the metal has primer.  But first...


I need to prep the back side for paint.  This area was painted light green at the factory.  I believe this is what gives the gauges a green glow at night.  The color is close to our primer so I'll just use that. 


This is after the second coat of primer.  It has already been sanded smooth.


Next is two coats of primer sealer.  This will keep the final color from turning dull over time.  


The backside turned out very nice.


To simulate chrome I used House of Kolor silver striping paint with a hardener.  I also used a reducer so I could shoot it with an airbrush.  3 full coats were used then allowed to dry and harden.


The masking tape was removed from the simulated leather backing then I masked everything that I wanted to stay silver.   I taped over all the openings so that the back side wouldn't get painted.


The semi-gloss paint I used previously was too glossy.  I tried some satin black but it also was too glossy.  I decided on Eastwood's Rust Encapsulator, the same paint I used on the frame.  The finish is perfect and it should be able to stand-up to a lot of key abuse.  I airbrushed around the bezels to insure good coverage up against the silver then I used a regular HVLP spray gun to insure uniformity.  The texture and gloss is exactly what I wanted.


Before the black paint dried I used an eraser on the raised lettering.  That removed the black and exposed the silver beneath.  It turned out very nice.  Click on the picture and check it out.


Now all I have to do is stuff the cluster with this.


Thanks for watching.

Sunday, February 10, 2013

Firewall, Steering Column and Grounding

The firewall insulation on our heater delete Corvette is 3 pieces.  The largest piece shown required the removal of the steering column, clutch rod and the hood release.  The fuse box did not have to be removed.


The second, or middle piece, is the smallest and the third piece covers the heater delete opening.


Not many heater delete options were sold so I was surprised to find this piece available new.


All pieces are held in place with these rubber push plugs.  A T-handle allen wrench worked great as the installation tool.  A dab of white lithium grease helped too. 


This is a view of the heater delete block-off panel as viewed from inside the engine compartment.  You can see the pointed rubber fasteners from this side. 


New topic.
On the inside of each of the door openings are 3 clips that hold down a long 1" wide cover for the wiring.  All 6 had to be replaced as they were either gone, rusted or broken.  This one is broken.


Here is the new one.  I used a steel taper headed rivet to fasten it.  It's strong and lays flat.


New topic.
About 6 months ago I bought a Flaming River tilting steering column.  This weekend is the first time I was able to test fit it.  I wanted to check out the blinkers, however...


The steering column electric plug in my hand does not fit the plug on my new wiring harness.  I called Flaming River and they recommended I cut the plug on the harness and wire it to their plug.  I don't think so.  I then called Lectric Limited, the people that supplied the new wiring harness.  They were very familiar with this issue and they have an adaptor that connects each.  It's in the mail.


New topic.
Grounding.  Because the Corvette's body is fiberglass the car requires special grounding.  Three in total.  This one is viewed from below the motor looking up.  It connects the motor to the frame at the passenger side motor mount.  That's the fuel pump on the left.


This one connects the frame to the bird cage.  It's located inside the engine bay below the brake master cylinder.

(Jim Q.  There's the O2 bung I welded to the exhaust.  I'll use it to adjust the air/fuel mixture.)


This is the third ground strap.  It connects the throttle linkage to the engine block.


And finally.
Here's a picture I thought was worth sharing.  Early Saturday morning I found a ray of sun light sneaking through the mini blinds shining on the car.  It gives you a good idea how the Cobalt Candy over Lapis Blue paint changes color with various light sources.  Click on the picture, check it out.   

Thanks for watching.

Tuesday, February 5, 2013

Super Bowl Sunday

Preparations for Super Bowl started a few days before the game.  It included starting the car as part of its routine maintenance.  I did a 360 walk around while it was running.  Check out the video here:

Jan and Anna M. were the first couple to arrive.  Both were extremely pleased with the Corvette.  Jan was speechless with the quality of the paint job.  I kept trying to get him to say great or pretty.  He finally spoke and said, "It's stunning."  I like that!


Dennis K. and Dewayne J. spent time talking about the car too.  Dennis sees the car frequently, but it's been awhile for Dewayne.  Dewayne was very pleased with the progress.


About 25 people showed up for the game.  All had to take a look at the car and all were impressed.  It's interesting to note that I asked everyone what color the car was.  Half said blue, half said purple.


The garage worked great.  It was meant for overflow but the guys spent most of their time in the Man Cave.  Who could blame them?  My Harley was the back drop for the TV, the Corvette was eye candy, ice cold beer was plentiful and the garage smelled like solvent and gasoline.  It can't get much better than that.  Oh yeah, the game was pretty good too.


By the way, the video gives away what the next post will contain.  Did you pick up on it?

Thanks for watching.