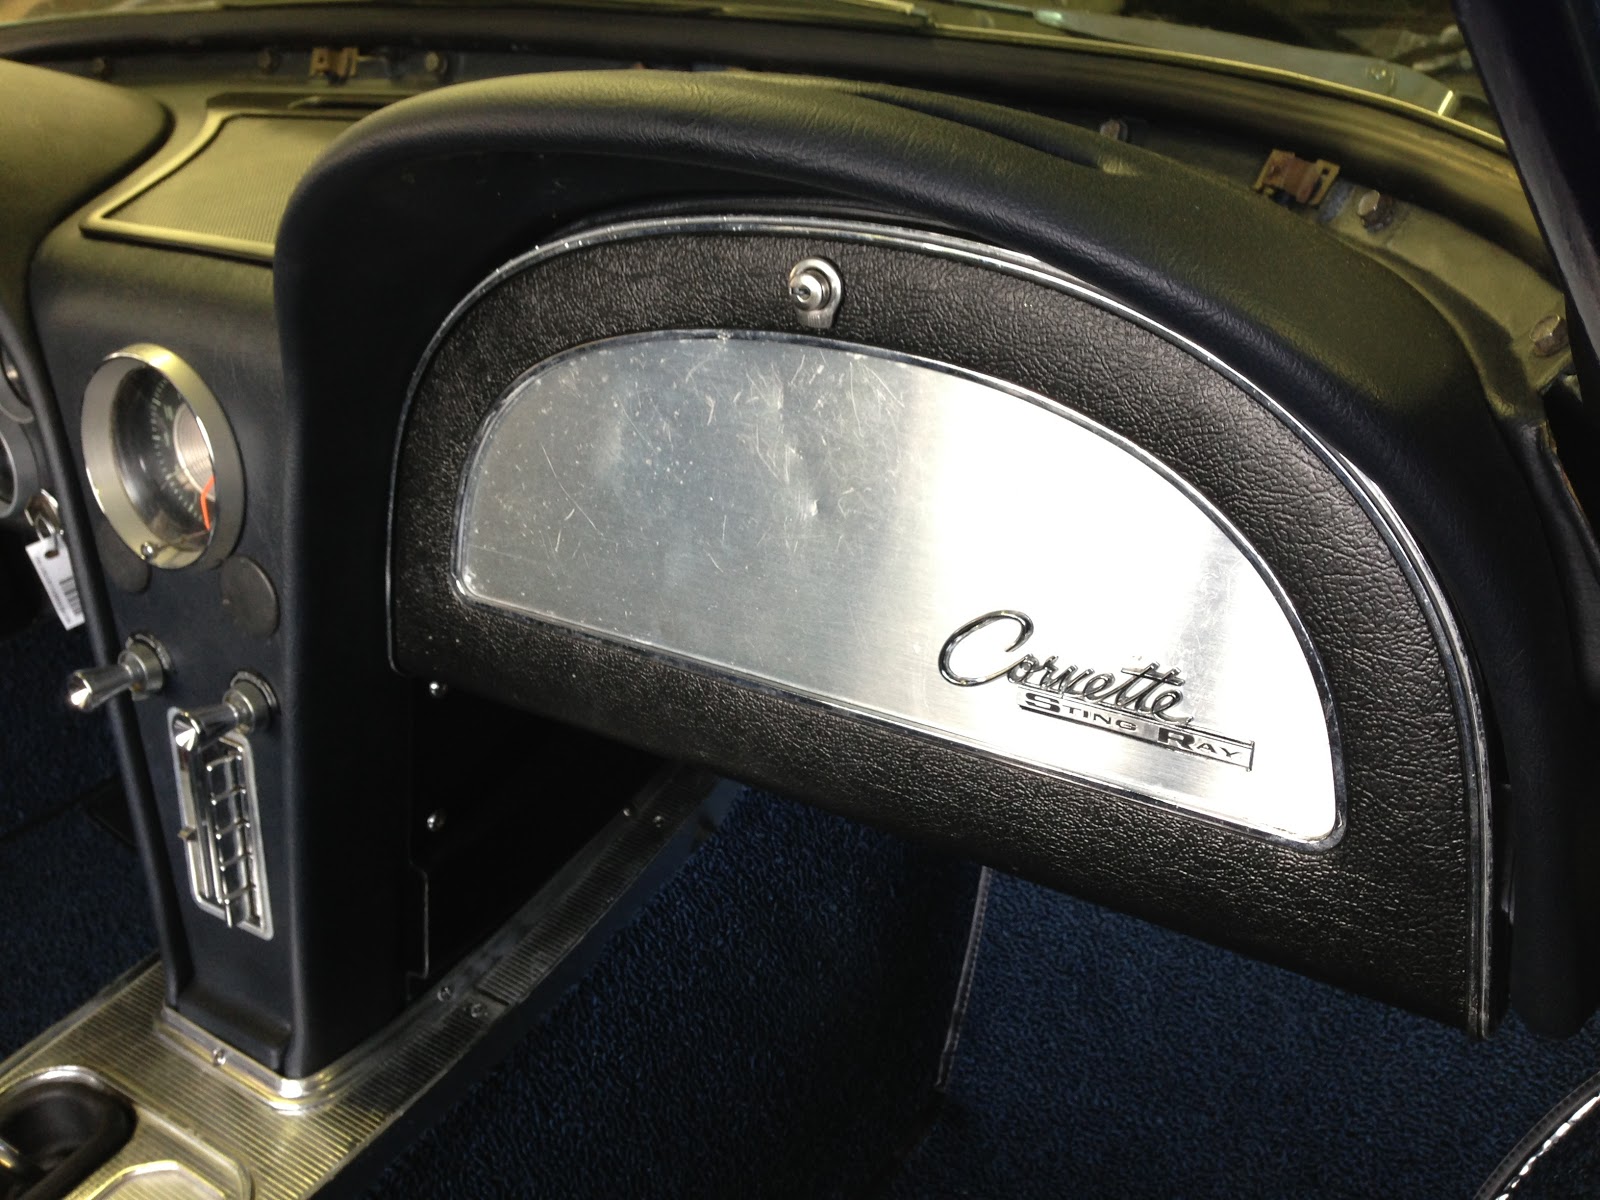
I put off the side window installation because I thought it was going to be difficult. I was right. It took 10 hours and multiple attempts before I finally finally figured out the correct sequence. The door goes together like a Chinese puzzle box. You may get most of the pieces installed but there seems to always be at least one piece left over. For those that might be visiting this site to find the proper sequence, I'll be a little more detailed than usual. There may be other ways, this is my way.
I polished the glass and installed new rubber molding. I rebuilt both geared wing window mechanisms and the main side window actuators. Lithium grease was used on all moving parts.

The first piece installed is the main side window actuator including the small track shown in the lower left of the picture. After this is installed crank it down as low as it will go.

Next is the wing window chrome molding and the wing window, in that order.

The chrome molding can be held in place with tape.

The wing window and chrome are fastened with 4 screws located under the door weather striping.

Next is the window channel. This is held in place with push snaps only. For now, the lower pig tail will hang loose. This is a key step, it must be loose otherwise the window will not fit in the door.

Next the window is lowered into the door. Hold the rear of the window a little higher than the front otherwise it won't fit. Once it's inside the door put it in the window channel then push it all the way up. I used duct tape to hold it in place. Now roll the window actuator up so the rollers can be installed in the window track. There are strategically placed holes in the upper part of the door that allow access to the nuts.

The final piece is the lower rear tract channel. You'll need patience for this one. When installed, the pig tail goes in the channel and gets fastened with a sheet metal screw near the bottom. That's it.

Both sides are done and the windows did add some weight to the doors.

The doors shut even better now. They're very solid.

I also replaced the points with this electronic ignition kit. It took about an hour and it works great. No more filing points, setting gap or adjusting dwell.

That's it. Thanks for watching.