2013 marks the 50th year anniversary for the 1963 Corvette. Happy anniversary!
I am installing Dynamat Xtreme, a butyl and aluminum vibration dampener that is typically applied to floors and doors. Before I start installation I make sure the floor is as clean as possible. The floor has dried carpet adhesive from the factory so I used my Dewalt with an aggressive wire brush to remove loose particles.

That was followed by a thorough cleaning using HOK wax and grease remover.

The process is pretty simple but does take time, especially if you're particular about details. It's easy to get caught up trying to make the logos face the same way. It's not important though.

Switching to the drivers side, one might be compelled to make all the cuts a mirror image of the other side. Again, it's not important.

Only early 63 Corvettes have this tub area. No one knows for sure why they were installed or subsequently removed. There was a period when Chevrolet was considering a 4 seat Corvette but that was short lived. Some think this tub is the floor area for the back seat passengers. Whatever the reason, the tubs require a lot of cutting. There is no way a single sheet can be used here.

The driver and passenger sides are done in this picture. Time for the luggage area.

Not installed is a luggage stop that spans the width of the car just behind the seats. I have to keep that in mind as I install the Dynamat. I'll install the luggage stop just before carpet.

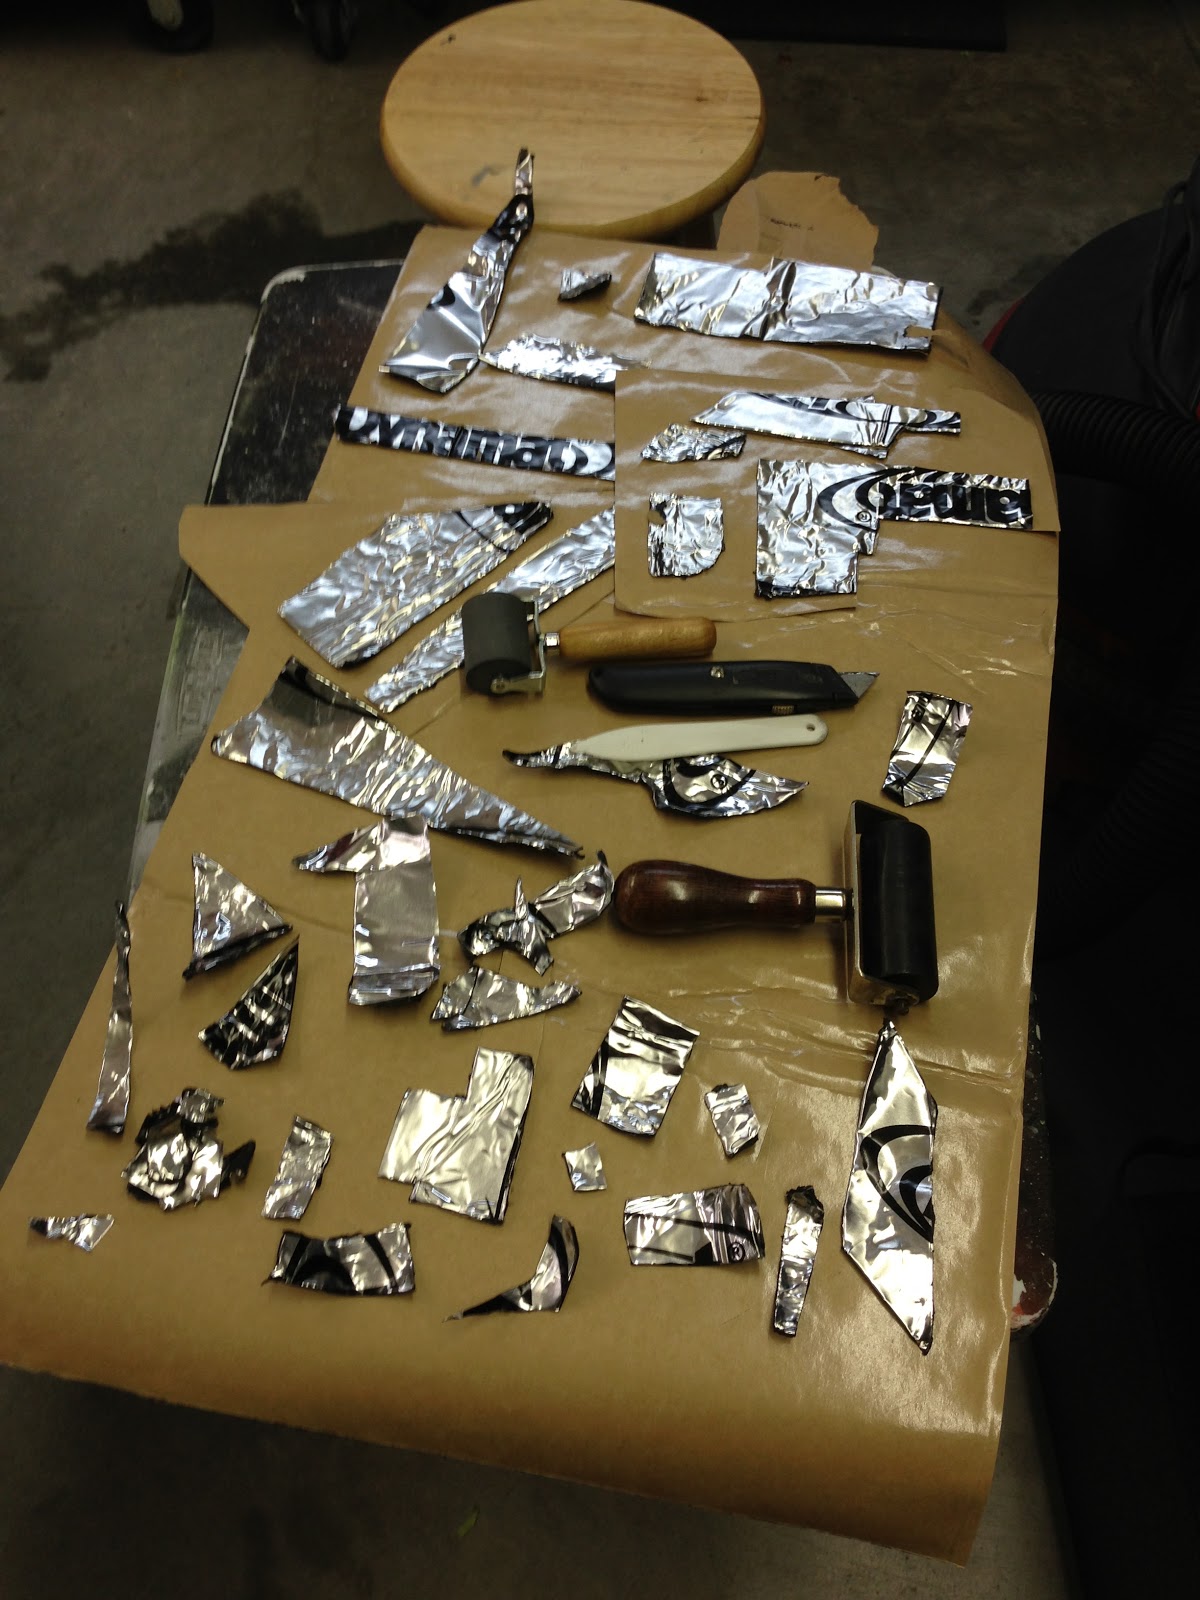
The technique is to first install large sheets then fill in the voids with small pieces. The Dynamat is best cut with a utility knife then rolled smooth. My joints are butted against each other, nothing overlaps.
Finishing tape goes over the seams and covers the sticky butyl rubber. It gives a nice finished look too.

I will continue working on the luggage area and will probably do the walls and roof also. Since our car is a Heater Delete the roof insulation will be welcomed on those hot summer days.

After the Dynamat is installed it will be time to purchase/install the wiring harness and that will be followed by lots of other purchased items. To give you an idea of the cost associated with the interior, the wiring harness, dash pads, re-upholstered seats and instrument cluster will cost around $1000 each. That means the completion of the interior will be governed by budget, not by hours spent in the shop. As such, weekly postings are no longer practical. I suspect monthly postings will be more appropriate. So, for you die hard followers, you should look for an update around the first of each month. I may post more frequently, but I'll at least post monthly.
As always, thanks for watching and have a great new year!


