Translate

Saturday, July 30, 2011

Rivet Nuts

Shop time remains limited and will stay that way until October or November.  For those of you that insist I post something every couple weeks or so I offer this nugget of information about a pretty cool tool.

Have you ever tried to tighten a molding, sill plate, chrome trim piece or something similar only to find that the hole for the screw had stripped out?  Options were to either use a bigger screw, goop up the existing hole with something and hope the screw holds, or just push the screw into the hole and hope it stayed there.  Now there's another option and it's called a rivet nut.  Below is a Rivet Nut kit that I bought at Tacoma Screw.  There are other manufactures as well.


It's a pretty simple process.  The stripped hole is drilled out to a size that accommodates the rivet nut you want to use.


5 different sizes came in my kit.  This rivet nut is steel but other materials are also available.


The rivet nut is screwed onto the tool then inserted into the drilled hole.  The tool is squeezed until the backside of the rivet nut mushrooms.  Unlike a pop rivet gun, nothing pops or breaks though. 


The rivet nut ends up flush on the outside...


and it mushrooms on the backside.  Here is an example of one I used on a flat washer. 


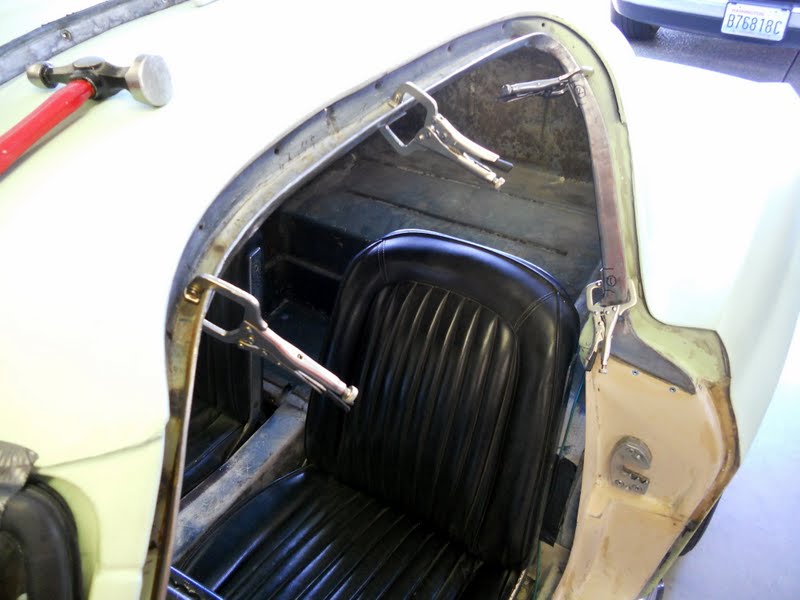
This thing works so well I decided to use rivet nuts for the whole upper door molding on the drivers side door.


10 minutes later I had the molding installed and it's very secure.  I'll do the other side as well.

I am sure I'll be using rivet nuts at several locations, especially when we start the interior trim pieces.

As always, thanks for watching.

Saturday, July 23, 2011

Drivers Side Door Alignment - 1963 Corvette

As was the case for the passenger door, the drivers side upper hinge had to be ground and the lower hinge had to be shimmed.  Once we were satisfied with the alignment all 20 hinge bolts were torqued down. 

Now it's time to work on the door to body fitment.  Instead of using Bondo my preference is to build up low areas using fiberglass.  I removed the primer from all the areas that were either mismatched or too low.  Duct tape was placed to channel excess fiberglass resin away from the rest of the car.  


Duct tape works great because fiberglass resin won't stick to it. 


Door gaps were stuffed with strips of foam rubber to prevent resin from going inside the door jamb. 


Fiberglass was then applied and allowed to cure.

Some areas actually bridged the door gap.


The duct tape was removed after the fiberglass cured.


The fiberglass was cut at all the door gaps using our Fein Multimaster tool.  Door gaps were then sanded open to the proper width using a small piece of sheet metal wrapped with sandpaper.


The 2 inch square fiberglass patch in this picture was done over a year ago when we reinstalled the B-pillar.  I ground this area paper thin then used it as a form for the fiberglass we applied today.  Remember, the fiberglass we use is clear which means the patch you see is on the backside.


With today's effort we will only have to use a small amount of Bondo when we prep for paint. 


That's it!  Both doors are done.

Sunday, July 10, 2011

C2 Corvette Drip Rail Clips

Back in 2009 when our Corvette was delivered Ty made me promise not to throw anything away during the restoration.  I thought that was an odd request but I've since seen the wisdom.

These are the original upper door drip rails that we replaced over a year ago.  They're nasty, rusty, difficult to store and they have sharp edges.  It would have been easy to toss them but I kept them and I am glad I did.  They have original trim clips and they tell us where the trim clips get installed.  You won't find that information in any book.  In this picture I have already drilled out the spot welds and removed one clip.


The drip rail requires 5 clips but ours only had 3 usable ones.  2 had to be fabricated.  Can you pick out the replica in this picture?  I can't either.

4 of the 5 clips are ready for welding.


Each was plug welded then ground smooth.


All 5 are now installed on the drivers side. The passenger side is next. 


Thanks for watching.

Monday, July 4, 2011

More Odds and Ends

My time in the garage is still limited but Lester (Wilson) says that's no reason for not posting.  So here's a few odds and ends that I hope will satisfy one of my most faithful followers.  You can also check out Peter's blog on his 1966 Corvette restoration.  Peter is another faithful follower that lives in Spain and his blog is at http://elcorvettedepeter.blogspot.com/

Ty and I continue to align the drivers side door.  As was the case on the passenger door, we had to grind away some of the thickness on the upper hinge.  The lower hinge will need 4 shim plates.  We didn't have any so Ty made 3 with available material but we need more.  I have since ordered several.


With 3 shim plates installed on the lower hinge you can see that the upper part of the door doesn't fit quite tight enough.  The extra shim plate should do the trick. 


Overall the door looks really good.  It shouldn't need much glass work at all.


Switching topics, the brass fuel float in the fuel injection unit had a leak and had been filling up with gasoline.  When the float doesn't float the car doesn't run.  This float has two halves that are soldered together.  After a couple failed attempts to repair the old soldered joint I removed all the old solder and resoldered with new.  The FI unit is back together and it's much better now.


Changing topics again, mechanical fuel injection experts recommend calibrating and tuning our engine using an air/fuel meter.  Sounds good to me.  Here I just finished welding the bung for an O2 sensor onto the drivers side side pipe.  Don't worry, this is the reproduction side pipe, not the original one.


The meter was installed in our make shift dash and it works great.  The optimum reading would be 14.6, that's 14.6 pounds of air to 1 pound of fuel.  The reading you see is a little rich but it was taken at idle.  We hit 14.6 when the car is cruising down the road.  Our Corvette currently has 108 octane racing fuel in it but it will soon be changed to pump gas.  When that happens we will retune the engine using our new gauge.

That's it for now.  I will not be able to work on the car for the next couple weeks so, Wilson, you're just going to have to grin and bare it.  Keep checking back though!

Sunday, June 26, 2011

Cool Desert Nights - 2011

The weather could not have been better and we had a record turnout of 801 entrants.

Once again Gerri and I entered both the 1963 Corvette and the 1957 Nomad.


Dennis and Annette K. brought their 1933 and 1956 Chevy's.


Ty thought we should showcase the undercarriage since that's where a lot of our effort has been.  We put a couple rims under the tires and set several mirrors under the car.  It worked great.


There was a lot of interest in the Corvette all day long.


Everybody loved the engine.


This year was the largest crowd ever.  Thousands showed up.


Interesting vehicles included this pick-up truck sporting twin turbos AND a blower.


Jeff B. brought his custom painted lawnmower.  This thing brought more smiles than anything else at the car show.  Hundreds of photo's were taken and the kids especially loved it.


How about this custom 53 Buick Skylark.  This was my favorite and it was for sale.  I checked my wallet but I was shy $70K.


OMG!  Is that our Corvette in the winners parade?  Yes it is!


For the second year in a row we won Best Work in Progress.

It was a great weekend at Cool Desert Nights but the absolute best part occurred after the show.  We had trailered the Corvette to the show Saturday morning but I decided to drive it home afterward.  I drove it through town and out on the highway for a total distance of about 5 miles.  This thing is outrageous!

Friday, June 24, 2011

Passenger Door Alignment

Dennis S., the previous owner, had bagged and tagged 4 shims for the lower passenger door hinge and that is exactly what it needed.  When we moved to the upper hinge we found that it needed adjustment in the other direction.  The only way to do that is to grind away some of the thickness of the hinge and that's what Ty is doing in this picture.  He found my biggest grinder and started to "align" the door.  It turned out very nice.


About a 1/4" in thickness was removed.  Here Ty is using a 6" ruler to locate high spots.


After putting the door on and taking it off several times we ended up with the best fit possible.  All the hinge bolts were tightened and the striker plate was installed.   Now it was time to start working on the body.  The majority of the passenger door fit very well with exception to the area shown below.  In this picture the door is aligned properly, it's the fender that needs work.  The fender was purposely built "fat" when we repaired the A pillar.


After using a  burr grinder to reduce the fender height, the area was masked off then fiberglass was cut so that it would span both the door and the fender.


Resin was applied then worked into the area until everything was saturated.


Several hours later the fiberglass was cut at the door seam then sanded until there was a smooth transition between both pieces.


The same process was used on the side of the fender.


I primered the area but finishing work still needs to occur. 
Compare this picture to the one above.  It's a nice improvement.


Cool Desert Nights is next and this will be the 3rd year our Corvette is entered.  This year we can drive the Corvette so it will be off the trailer during the show.  Should be fun.  Stay tuned for pictures!