Translate

Sunday, July 22, 2012

Paint - Lapis Blue

It's finally time to start painting.


The car was put on jack stands then the tires and exhaust were removed.


Plastic was hung around the perimeter of the garage, in the wheel wells and underneath the car.  


Two medium coats of primer sealer were applied and allowed to dry for 1 hour.


3 Medium coats of Lapis Blue were applied then allowed to dry for 1 hour.


Kandy Cobalt Blue will be applied in two phases.  Phase 1 is 3 medium coats while Phase 2 is 3 heavy coats.  This picture is Phase 1.  I will stop here and let the paint dry for several days then wet sand any nibs or other imperfections.   After that I will mask off and apply the racing stripe.  Once that is done I'll shoot the entire car with 3 heavy coats of Kandy.  That will ghost the racing stripe and give us the dark Kandy blue we want.  


I put the wheels back on the car and cleaned up the garage.  It took about 12 hours to get to this point, most of it wearing a respirator.  It was hot and miserable work.  The body lines look great, the color is interesting but way too bright.  Phase 2 will fix that.    

I hope to pick a cooler day for Phase 2.  It's good to see color going on the car but this is not the color we want.  Can't wait to get that deep dark Kandy applied.

Thanks for watching.

Thursday, July 19, 2012

Masking


Door jambs and the hood jamb are next.
We are getting dangerously close to laying down some color.
I am scared.
Wish me luck.

Sunday, July 15, 2012

Hood Latches, More Body Work and Scuffing

The hood release mechanism has been installed and it works great.  This is a very tight fitting hood.  It's hard to believe the 63 hoods vibrated bad enough that the Chevrolet engineers added hood blocks half way thru the model year.  Ours is an early 63 so it doesn't have hood blocks.

Take notice of the cable that connects both hood releases.  Turns out it has to be fastened in three spots behind the distributor, upside down.


During the fire wall repairs a couple years ago we didn't know those holes were needed so, if they were there, we glassed over them.  The holes have to be drilled in the overhead position and that means all the work must to be done using an inspection mirror.


It took a couple hours but I got it done.  Instead of just screwing the bolts into the fiberglass I used 3 Rivet Nuts.  If you didn't see the Rivet Nut Fastener you can check out this cool tool here:  http://1963splitwindow.blogspot.com/2011/07/rivet-nuts.html


So now that the hood is locked into position I can check the fit on the front of the hood.  You'll recall we originally fit the car with the 1967 hood but we later decided to use the 63 hood.  There is a low spot just behind the emblem area on the left side.  This needs to be fixed.    


A little Bondo is all that was needed.  I like to bridge the gap... 


then trim it with an Exacto knife while its still setting.


It turned out nice.  I have primer and primer sealer on order.  Once received I'll give this area a fresh coat of each.


So while I wait for paint it's time to start prepping the car for masking.  All the areas that will be painted must be scuffed until dull.  This includes the jambs that we previously painted.  Here I am using a red Scotch Brite pad on the upper drip rail area.  We will mask just below the scuffed area.


Same goes here.  When we paint the car we want the paint to wrap about a 1/4" into the jambs.  I'll buff out any remaining scuff marks later.  Remember, I am only scuffing the clear coat, not the blue.  


Both fresh air intakes were scuffed along with the hood and hood jambs.


The rear valance area needs it too.   I'll start masking when the scuffing is done.


Truth is I already started masking (check out the first picture).  It's going well but there is a lot of it.  I'll cover that in the next post.

Thanks for watching.

Saturday, July 7, 2012

Rear Valance, Hood Locks & the Doors

It's been a long time since we worked on the exhaust valance.  I gave it a quick hit with brown primer then took a few swipes at it with sandpaper just to figure out how much work had been done.  The brown spots are low spots and that tells me the last thing done on this was fiberglass work only,  No finishing work.


With that information I used our Icing glazing compound to fill the low spots then hit it again with brown primer.


That was followed by block sanding.  I then circled all areas that still needed filler then did it again.


When I was satisfied it was nice and flat I gave it a couple good coats of our green two part primer.  I let that dry for a day or two then sprayed on the brown primer as a guide coat then started sanding again.  You'll notice in this picture I cut the slots for the bumper brackets.  The cross section thickness of the fiberglass in this area tells me this is way stronger than a stock valance.  A special thanks to Ty and Lester for that little surprise.


When the finishing work was done/done I sealed it with black primer sealer.  It's now a thing of beauty.


Somehow I ended up with 4 hood latches, all of which looked like the two in the background.  I refurbished the two in the foreground by sandblasting, soaking in carburetor cleaner, 20 minutes in the ultrasonic cleaner, then I gave them several coats of  paint.  They look great and I've already installed them.


Now here's a puzzle.  There are a couple indentations on the door skin that I can not figure out.  This door has been fully guide coated and block sanded yet here they are.  You'll have to double click on the picture to see at least one of them.


A teaspoon of body filler followed by block sanding fixed the problem.  The filler is white. 


So then I thought I better check the other door and, guess what?  Humm...  It's puzzling.  Brother Jim thinks it might be because the doors are now hung and not on a table.  Could be...


So now I am going to go over the entire car to make sure we don't have other surprises.  I've looked at half the car so far and nothing new has shown up.


So next I'll be taping and masking and doing everything we can to protect the chassis, engine and the door and hood jambs.  Should be interesting work.  Wish me luck.

Thanks for watching.

Sunday, July 1, 2012

Headlights, Clutch and Steering Column

I thought I'd show you a picture of the hood and upper air intake cowling.  If you've been following this blog from the beginning you'll know that this area had a lot of issues and consequently received a lot of TLC.  I think you'll agree that the time invested was well spent.  This really looks nice.


I am getting tired of the body work postings so I'll skip all the steps that got us to this point.  All the hard work has already been done to these primered headlight buckets.  They're now ready for paint.


When I let the paint dry for more than 4 hours I have to scuff the paint so that the next coat will stick and not lift.  The bucket on the right has been scuffed and I am getting ready to do the other one.


The buckets are fiberglass but they do have a lot of metal reinforcing on the inside.  I thought it best to paint the inside as a rust proofing measure.


This is the hardware needed to install the buckets.  The assembly manual in the background is a must have if you've never done this before.  I chose stainless steel screws since the headlights on a C2 Corvette are notorious for rusting.  Note the tube of silicone grease.


I chose silicone grease for the headlight mechanism because it's waterproof.  Waterproof?  Yep, that's right.  Not all grease is waterproof, but the silicone grease is.  If I didn't use silicone grease it would only be a matter of time before rain and car washes would wash away the lubricant.  Silicone grease is a great product but it comes with its drawbacks.  It's almost impossible to wash off and it's the worse contaminate you could have when painting a car.  That's the reason for all the tape in this picture.  I am trying my best not to get anything on the primer sealer.


It took a whole afternoon to install and align both buckets.  I even painted and installed the electric motors.  There is still work needed under here but you can see how it's set-up.  This is directly behind the nose of the car between the headlights.


Ty and I did a lot of work on these headlights over the last couple of years.  We must have at least a 100 hours invested.  They look great and I am sure they are better than factory installed. 


Switching gears, this is the clutch pedal and the clutch rod that goes through the firewall.  The clutch never quite felt right to me and it took me a long time to figure out why.  After a lot of research I found out why.


We were missing this plate.  The plate moves the clutch rod higher and it engages the rubber bump stop.  The clutch operates much better now.


Then there's that grungy old steering column.  It's original to the car and it's an original 63 but it's not friendly to "men of measure".  It gets in the way.  I talked to several people that own C2 Corvettes and many of them have the same issue, they don't fit well in their car.  The solution?  A tilt wheel!


Flaming River sells a tilt wheel steering column specifically for C2 Corvettes.  Everything is identical to the original except for the extra lever.  This one will be painted to match our car and it will allow big boys to drive in comfort.  At least that's the plan.  I know, it's not original to the car but this is one of the few things we are doing to improve the driving pleasure.  Besides, it comes with a flasher and that's a great safety feature.


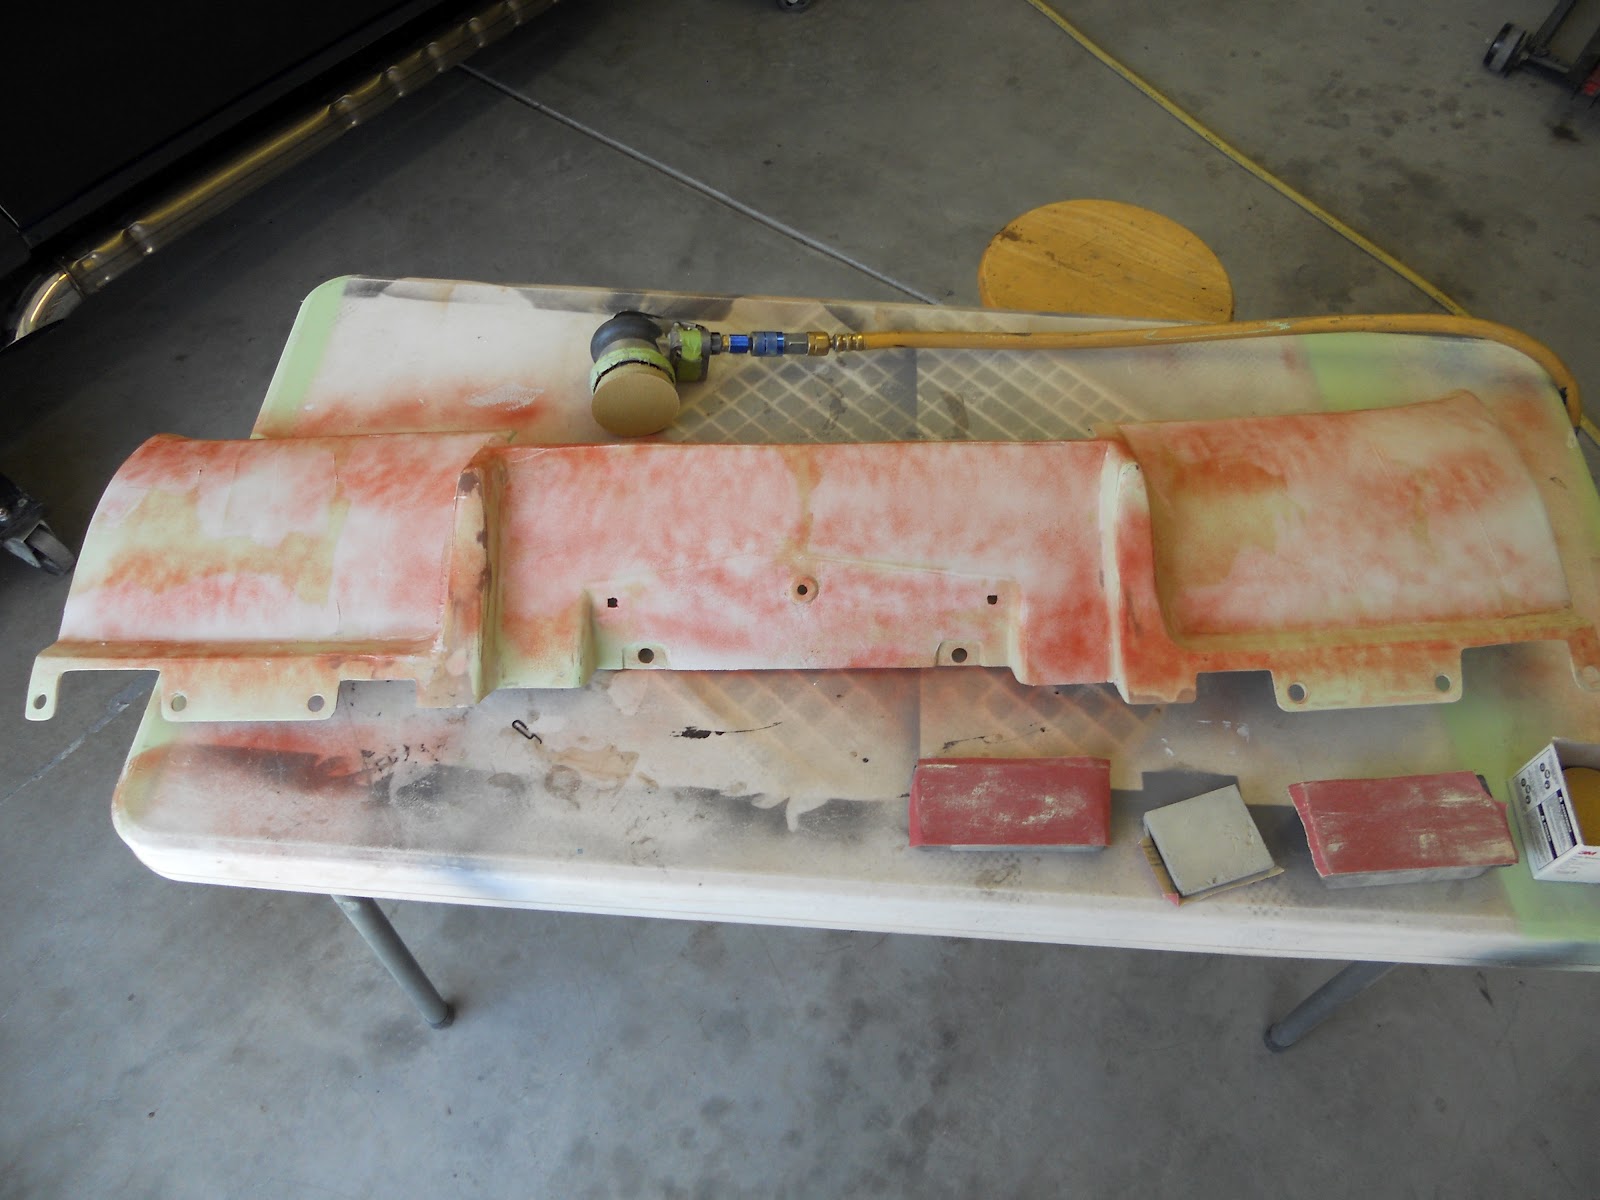
Next I'll start working on the rear exhaust valance.  That is the last piece that needs body work.  Hopefully paint will follow afterward.

As always, thanks for watching.