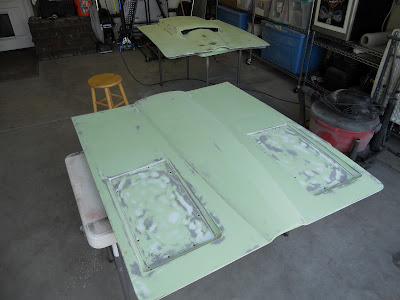
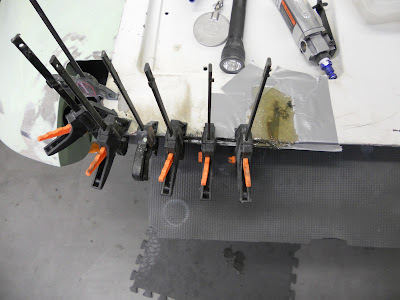
I set the 63 hood on the car and noticed it didn't fit as well as I thought it should. It was then that I realized it was the 67 hood that we fit to the car last year. So, without bolting the 63 hood down and spending a lot of time shimming to verify fit, I decided to just go ahead and work on both hoods at the same time. If one doesn't fit the way we want, the other one will. Lets hope the 63 will be fine.
The hood didn't need any Bondo but there were several areas that needed a little help. I decided to squeegee on the Icing filler. I did small sections at a time since there is only about 3 minutes of working time per batch.
After the entire hood was done (less the cookie sheet areas) I hand sanded everything using several different sanding blocks until the hood was smooth to the touch. The white spots are filling very shallow nicks and gouges that were made with the grinder and scraper when we removed the paint.
I sprayed the hood with two part epoxy primer then...
I decided to smooth the cookie sheet areas even though they get covered up. I applied Icing ...
then sprayed a contrasting primer so I could start the guide coat process.
Yes, I am doing both hoods at the same time.
Guide Coat takes a lot of time, especially when it's all done by hand. If you look in the cookie sheet areas you can see there are still low areas (red spots).
So I squeegeed the Icing and filled in those areas too.
I primered again for the second time.
Sprayed contrasting primer ...
Then did a second Guide Coat. You can see there are very few areas where I sanded through the primer. That means the surface is getting super smooth and super flat.
I primered the hood again for the third time. All the hood needs now is a quick sanding then it's ready for primer sealer. But before I do that I'll let this thing dry for a good week.
All this attention to the hoods is excessive and I know it. A body shop would have been able to do something comparable in a 10th of the time. Fortunately, I am not a body shop and I don't care if I am being excessive. Besides, the attention to the hood matches the attention Ty and I gave to the body. At least I am consistent.
I have 7 quarts of various paint on order and it's all for the "paint job". But before we do that we have to do the underside of the hood, both headlight buckets and the rear exhaust valance.
Thanks for watching!


