Translate

Sunday, April 28, 2013

First Test Drive Repairs

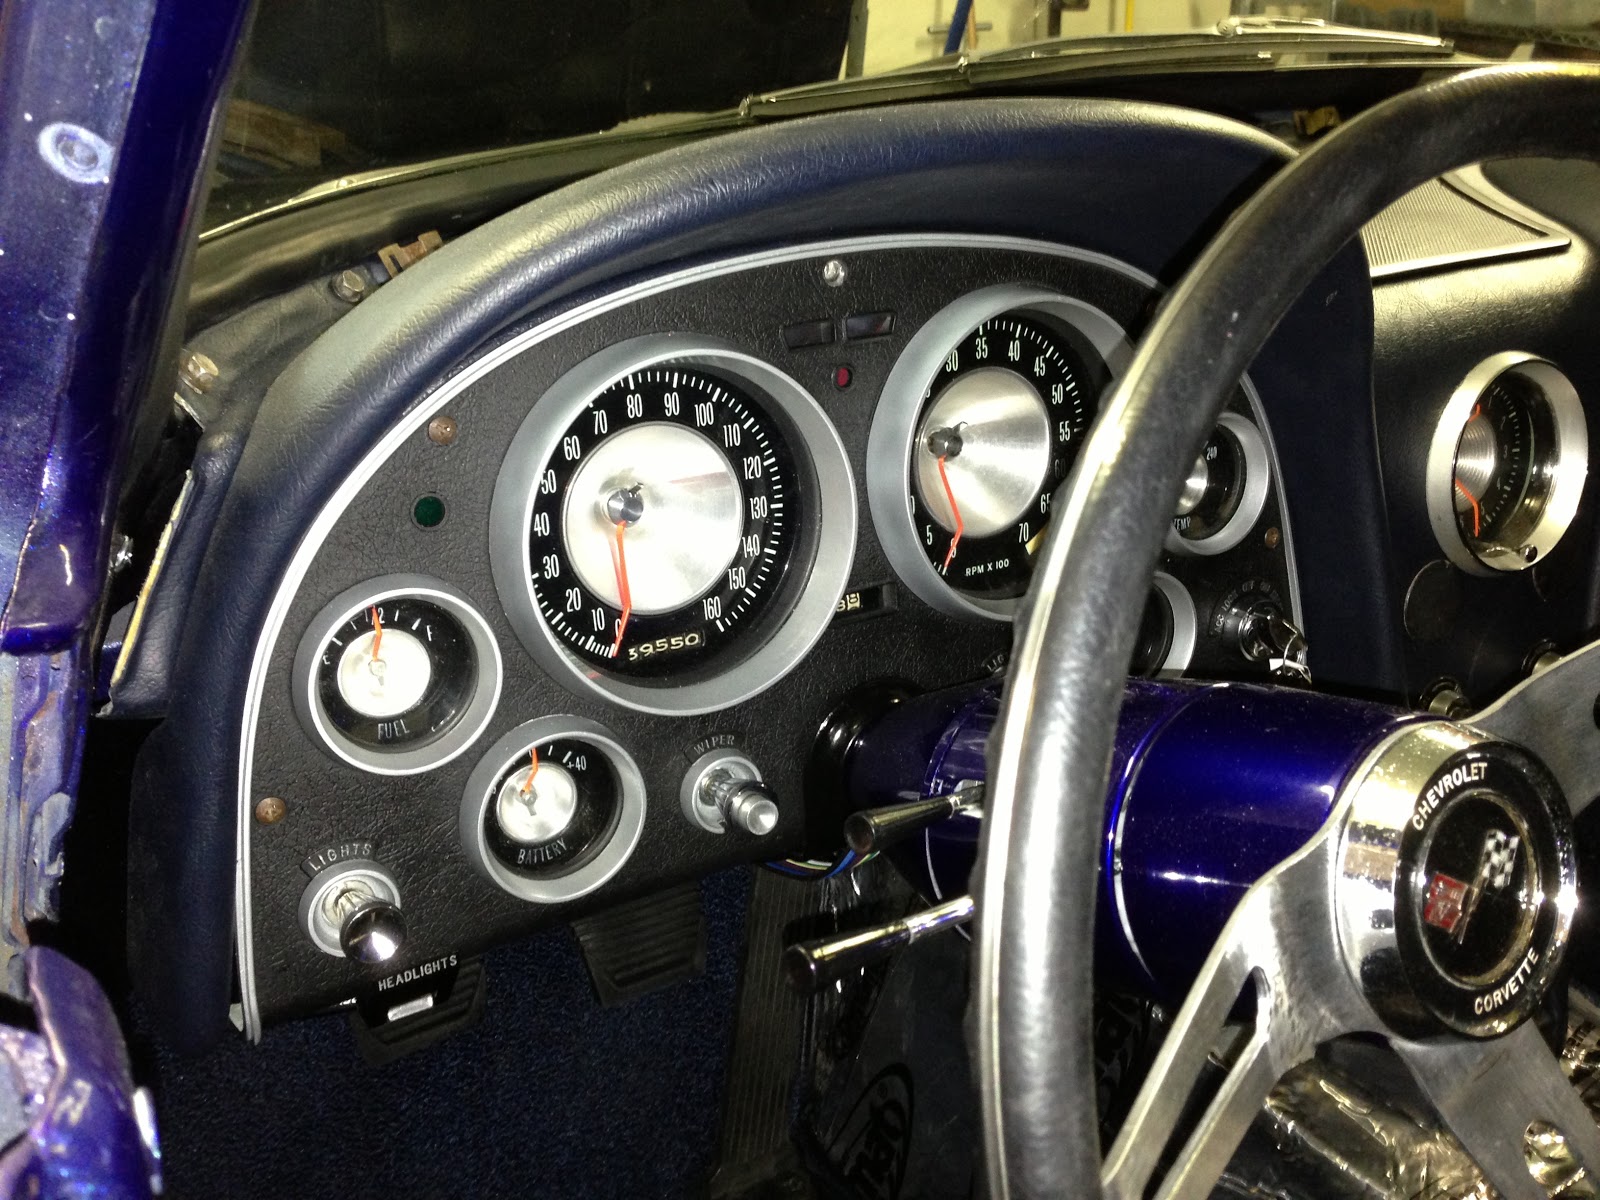
After last weeks test drive I found a few things that need attention.  This includes soft brakes, loose trailing arm shims and this little jewel, a detached speedometer needle.


It took 3 hours to remove the steering column and dash, push the needle back on, then reattach all the dash wires, switches and cables and reinstall the steering wheel.  It's all done.  Whew...


The gas gauge wasn't working because of  a bad sending unit.  That requires the tank to be siphoned.


Then the spare tire tub has to be removed.


I already had a spare unit, the one is in the foreground.  It came with a new o-ring and locking ring.  I replaced everything.  The fuel gauge works fine now.


The brakes were soft.  I checked the National Corvettes Restorers web site to see if there was a trick to bleeding the brakes.  The most recommended solution was either to open the bleeders and use gravity or pressurize the master cylinder.  A vacuum pump was not recommended.  I decided to pressurize the master cylinder (shown). 


I built a simple plastic lid with an air fitting.  I added a large flat washer as reinforcement.


A standard clamp held the cap in place.  It only took about 5 psi to get the brake fluid moving.  There was a large air bubble in the left rear caliper.  The brakes are much better now.


I found loose trailing arm shims at both trailing arm locations.  My shop manual says the shims have to be packed tight then t torqued to 60 foot pounds.  They're tight now.


Here is one of the shims.


They get stacked side by side and go on both sides of the trailing arm. This view is from the front of the rear tire looking up.


If you haven't guessed, I took the Corvette out for another test ride this weekend to verify everything above.  All is well but I did find a new issue.  The right side of the engine is leaking oil at the #2 spark plug.  I called Matt P. and he recommended I put thread sealer on all the head bolts and exhaust manifold bolts.  That's a job that I will address in the next post.


So, instead of ending on a sour note I thought you'd like to see the headlights in action.  Check them out in this video.  A special thanks to Ty for restoring the headlight buckets a few years ago.  They work great. 


Sunday, April 21, 2013

Dash, Headlights and Wiring

I accomplished a lot of things this week.  It started with the installation of a new speaker.


I re-painted the speaker grill with Por-15 Chassis Coat Black.  It's satin and turned out very nice.


The clock was re-installed using 2 special clips.  They hold the clock and insure proper grounding.


I purchased a new glove box (upper left).  All the metal components were media blasted and painted with Por15.  The glove box door is unique to 1963 and ours is original but it's condition is horrible.  It can't be saved, at least not by me.  I'll be watching for a better one.  


Our 1963 door has missing pieces, holes drilled at the top, cracks and scratches everywhere.


I installed the glove box and frame then remembered...


I have a 64 (or later) door that didn't sell at the Portland Swap Meet.  I reconditioned it with Por15 and installed it temporarily.  It's not a 63, it has a couple dents, but it will do for now.


Not too bad.


I installed the windshield washer spray heads and used Rivet Nuts to fasten the wiper grills.


I coupled the Flaming River steering column to the steering box with a beautiful polished stainless steel universal joint.  The spline counts will vary by year.  Mine is a 3/4" 36  X 3/4" 36.  It took me too tries to get it right.


Here is a better picture of the blinker and tilt levers I modified to make look like  original.


The headlight wiring harness was finally installed.  I had to remove the grill and bumpers for access.    In this picture you can see the running lights are now working. 


 Viewed from below are the two headlight bucket motors.  They are installed and wired.


Also installed are the two horns.  GM horns in the 60's were identical between most models.  The difference is the bracket and orientation of the horn.  An original set of working horns for a 1963 fuelie would set you back about $1500, but you can't find them.  Mine are from a Skylark.  The horns sound like a 63 Corvette, they're orientated properly, but the mounts are slightly different.  I am good with it.


I also installed the headlights.  Here they are tucked up under the nose.


Here they are in the open position.  Ty had spent a lot of time refurbishing these so they were simple to install.  They still get bezels but they're not yet painted.


So, after all of this work, do you know what time it is?  Check out these videos.


Saturday, April 13, 2013

Portland Swap Meet and Paint

Dennis K and I spent last weekend selling parts at the Portland Swap Meet.  This is a HUGE swap meet that goes for 2 1/2 days.  We had one 10'x10' spot and it was chocked full of stuff.  We came with 2 truck loads and left with half a load.  We had a great time and got rid of a lot of excess parts.


This was our view but the picture only shows a 1/3 of the building.  There were 3 other buildings like this one.  The outdoor section was 3 times as big as all of the indoor buildings combined.


OK, back to business.  It's time to paint.  This is the Flaming River tilt column and wheel adaptor I purchased last year.  I cleaned and masked the parts to get them ready for paint. 


I also prepped the two windshield wiper grills and the speaker cover.  Here they are already in primer.  I used the same paint I used on the car.


These are aluminum blinker and tilt wheel levers supplied with the steering column.  They're nice but not very 1963-ish.  I decided to modify them. 


This is the original blinker switch from our car.  I want our new switches to look like this.


These are the same switches shown above.  I put them in the lathe and modified them.  I masked then painted the ends to look like plastic.  They're not though, these are still solid aluminum. 


The speaker cover had a little corrosion.  The little green specks are primer that filled in the defects.  This is smooth to the touch but still gets another coat of primer.  I don't want any metal showing when I shoot color. 


Check it out!  The steering column looks spectacular.  The switches look great too. 


It looks great from the passenger side as well.


And how about those wiper grills?  I couldn't have asked for better.  I am very pleased.


But the speaker grill sucks.  Really sucks.  So, I need to find a good dark blue or black color, probably with a semi-gloss or satin finish.  I am not sure which.  Wish me luck.

I'll work on the speaker grill next.  It really needs to be toned way down.

Thanks for watching. 

Sunday, March 31, 2013

Gauge Cluster Installation

Before I stuck my head under the dash I did everything I could to  make sure I was ready.  I triple checked to make sure all the wires were marked and the dash bulbs were installed, made sure the tachometer and speedometer cables were positioned properly, and I made sure the oil line from the oil pressure gauge was fed through the proper hole in the fire wall.  I also installed the trip odometer reset cable to the gauge cluster. 


I installed my homemade aluminum rods into the dash screw holes then I slid the dash cluster into position.  These rods give me a little extra room to hook up the wires.


I used zip ties to keep the dash cluster from sliding off.  Some electrical connections were easier to make from the outside.  These included the light switch (shown), the ignition switch, and the three bulbs located at the top of the cluster.  All other connections were made from behind the dash.


I installed the tachometer and the oil line to the gauges first then I made the engine compartment connections.  This allowed me to slide the cluster without getting push back. 


Hooking up the dash cluster was a little overwhelming to begin with but as each wire was connected the job became less intimidating.  When all the connections were made  the cluster was pushed into position.  One by one the aluminum rods were removed and replaced with a dash screw.  It's tight behind there but everything fit.   


Check out the dash lights.  I like it!


This is a video of the dashboard in action.  Enjoy.


Sunday, March 24, 2013

Dash and Dash Pads

The dash is made up of three components, the center section (shown) and two dash pads often called eyebrows.  Our pieces are brittle, cracked, damaged and in need of TLC.  The center section is a fiberglass frame covered with vinyl.  It will be recovered with new molded vinyl.  


   Most of the dash was brittle but some places were still soft. 


The center section has two metal pieces.  These were removed, painted and re-installed.


The worse part of the entire process was trying to remove the old covering.  I tried a pick, screwdriver, Exacto knife, needle gun and other utensils.  The pick worked well but was very slow.


The best tool ultimately was the Fien Multi-Master fitted with a flat blade.


There were several areas that needed minor fiberglass repair. 


 My dual action sander was the last step.  The total process took about 4 hours. 


I chose this contact cement to bond the new cover to the fiberglass frame.


The cover was glued down one section at a time.  Clamps were used on all the edges.


 The results look like new and I couldn't be happier.


The dash pads were replaced, not recovered.  After 50 years in the sun the foam cores have turned brittle making the pads pretty much worthless.  The new pads, however, on a per pound basis, are the most expensive item purchased to date.  These were $1250 for the pair.


The dash and dash pads look awesome!


Installation has already begun.  More on that will follow.

As always, thanks for watching.