Translate

Sunday, November 25, 2012

Bumpers, Brackets and Bolts

The two front bumper brackets on the left are for something other than a 1963 Corvette.  If you look close you'll also see that they are identical, both for one side.   Fortunately, I was able to pick up an OEM set, the ones on the right.  I believe these were used only in 63 and 64 and the early 63 brackets were extra thick.  But that's what we have, early brackets and an early Corvette.


After sand blasting and painting the brackets I dismantled the front end then installed the brackets.  The  trouble light is hanging off of one.


The bottom of the front grill section gets an aluminum molding cover, 3 pieces fastened with clips and rivets.   Instead of using rivets  I decided to use rivet nuts instead.  You can check out this cool tool here:   http://1963splitwindow.blogspot.com/search/label/Rivet%20Nuts . The arrow points to 1 of 8 installed.  I am missing the center aluminum section so I'll have to wait to install.  It's due in later this week.


Next are the rear bumpers and exhaust valance.  I jacked the car up using my nifty Race Ramps.


Here are all the brackets needed for the rear bumpers.  Instructions come from the Assembly Manual.


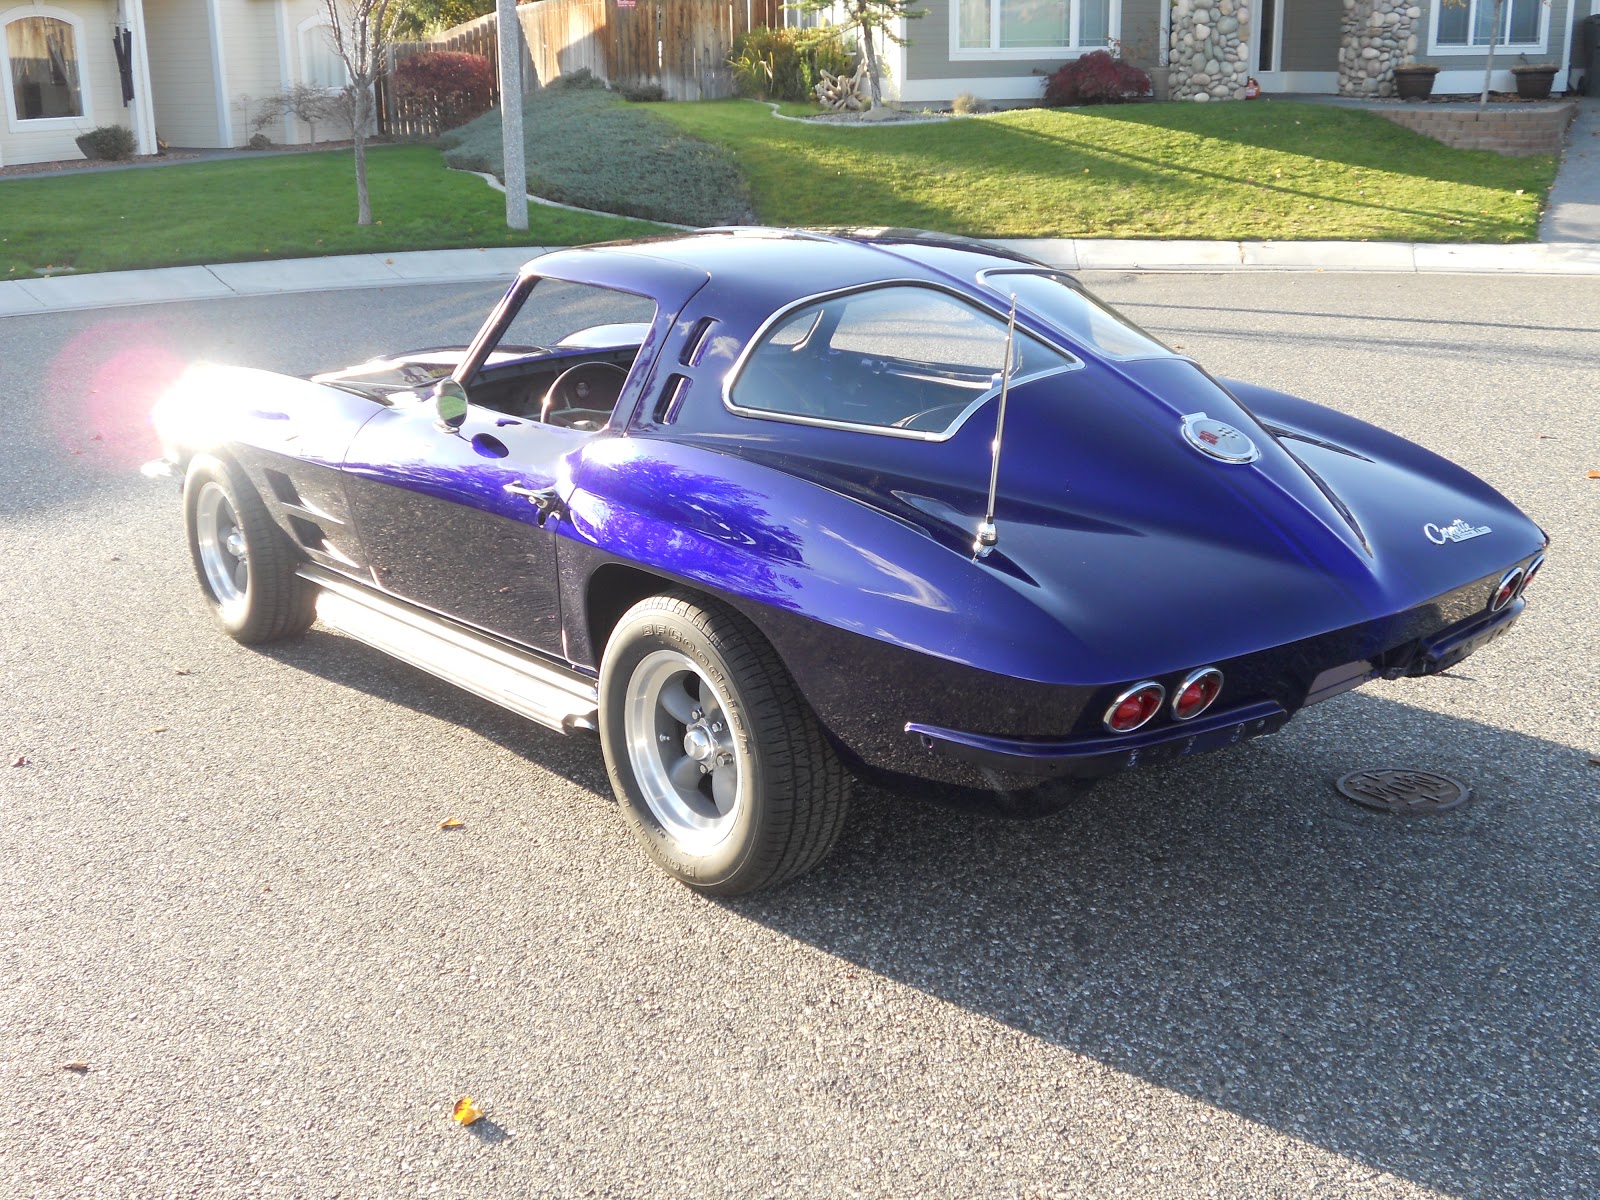
Bumpers are on and looking good.  Duntov's design was intended to mirror the tail lights. 


I installed the valance using stainless steel button hex head bolts.  It's not factory correct but I like it.
All the hardware for the bumpers and brackets are Grade 8.  Unfortunately, the body is sandwiched between the brackets and the bumpers and I am sure even a moderate bump would cause extensive fiberglass damage.  The bumpers are not there to protect the body, I think they're there to destroy it. 


Looking sexy!


I even buffed and clear coated the aluminum license plate frame.


Next will be the windshield and the windshield trim.

Thanks for watching.

Friday, November 9, 2012

360 Update + a Bonus...

Jim P asked for some photos taken at a distance so he can see the overall progress.  It's late in the day and the sun is low but these should do.  If you've been watching this blog you'll know that the car is sporting something that hasn't been discussed recently.  Can you find it?


Did you find it?  It's the side exhaust covers.

Thanks for watching.

Sunday, November 4, 2012

Grill, Front Bumpers and an Antenna

I think the easiest thing I've done on this car is to install the antenna.  It took two minutes.


The grill in the background is the one that came with the car.  The ribs on that one are in poor condition but the brackets are good.  The grill in the foreground has nice ribs but it has several broken brackets.  Between the two I will make one very nice grill.


As I removed the brackets I sandblasted and painted them before reinstalling them. 


All done.  The one in the front has nice ribs and perfect brackets.  It's time to install.


The grill should be held in with 11 fasteners but I am only using 2.  I am dry fitting for the bumpers.


Speaking of bumpers, I decided duct tape makes a pretty good substitute for chrome.


Just kidding.  The duct tape is protecting the chrome so I can sandblast the back side in the blast box.


After sandblasting I primered and painted the inside surface.  They look nice.


Lots of hardware and brackets are required.  Turns out the two on the far left are incorrect for our 63.


None the less I did a dry fit using the brackets I do have.  It looks great and I hope to get the missing brackets on E-bay.  Wish me luck.  They are a one year only bracket and I prefer original.

Installing the front bumpers has been a slow process because I don't want to scratch the paint.  I am taking my time and you'll see more on these bumpers in the next posting.  And speaking of the next posting, I'll be out of pocket for awhile but I should have something in 2 or 3 weeks.

Thanks for watching!