This is the right control arm. Shims were installed on both sides of the neoprene control arm bushings.
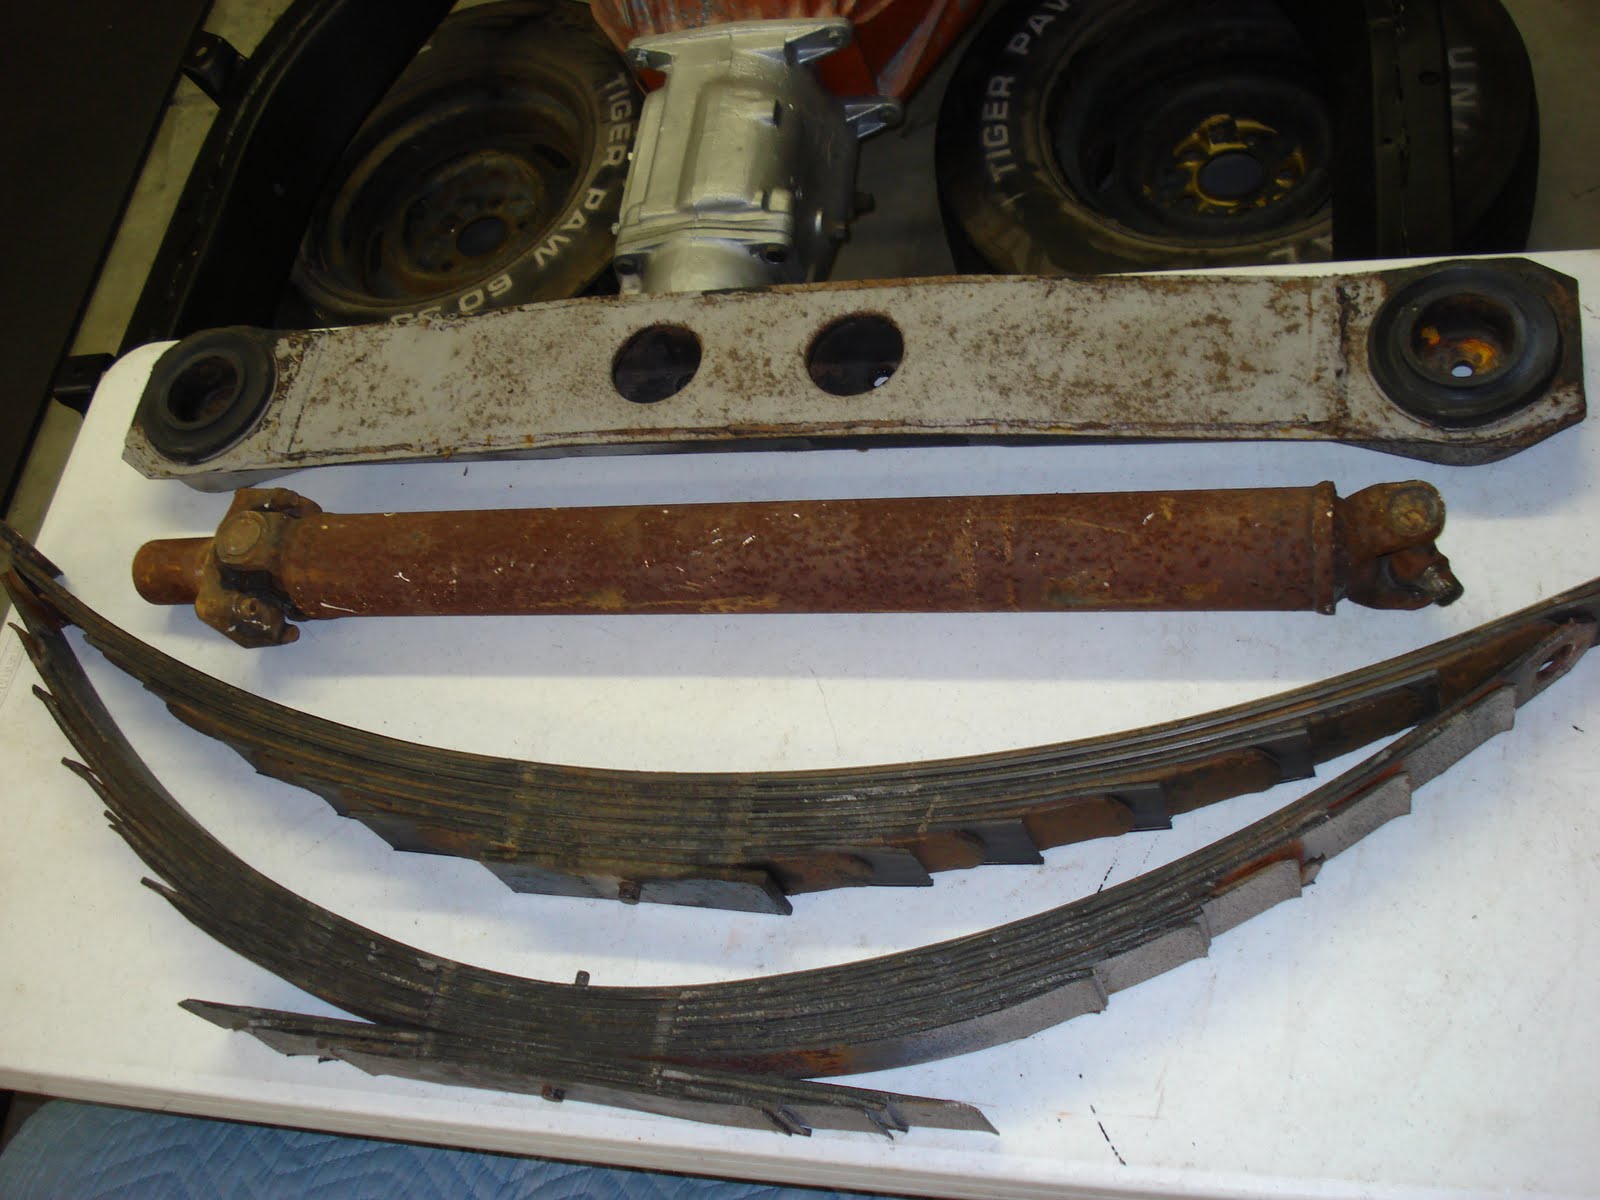
.jpg) Ty also refurbished and installed the rear torsion bar on Friday.
Ty also refurbished and installed the rear torsion bar on Friday.
1965 was the first year a Corvette came with a rear torsion bar. Although the 63 model did not have a torsion bar it was common practice to have one installed simply because it offered exceptional handling performance. It's hard to believe that a 3/8" torsion bar could do so much. Although it's not period correct it is an era modification that I am OK with.
.jpg) A close up view of the same area.
A close up view of the same area..jpg)
A close up view of the same area..jpg)
The front torsion bar was also installed. This is a 7/8" bar sold only with the hi-performance package. The standard size was 3/4".
.jpg) The rolling chassis is surprisingly close to completion. The gas tank will be next followed by the drive shaft. If my nephew James comes out for Cool Desert Nights we will most likely fire up the engine at that time. James is attending Michigan Tech for his Mechanical Engineering degree and he and several of his classmates have expressed interest in this motor. I think as a good uncle it's only appropriate he gets first honors. I know, I am a nice guy.
The rolling chassis is surprisingly close to completion. The gas tank will be next followed by the drive shaft. If my nephew James comes out for Cool Desert Nights we will most likely fire up the engine at that time. James is attending Michigan Tech for his Mechanical Engineering degree and he and several of his classmates have expressed interest in this motor. I think as a good uncle it's only appropriate he gets first honors. I know, I am a nice guy.
.jpg) And look who's back. I dug this out from under the tarp and made a spot for it in the garage. This picture was taken yesterday morning and since then it has been fully block sanded from the spring line up and is ready for more primer.
And look who's back. I dug this out from under the tarp and made a spot for it in the garage. This picture was taken yesterday morning and since then it has been fully block sanded from the spring line up and is ready for more primer.
.jpg) This area desperately needs a coat of primer and it might happen today. Stay tuned.
This area desperately needs a coat of primer and it might happen today. Stay tuned.
.jpg)

.jpg)
.JPG)
.JPG)

.jpg)
.jpg)
.jpg)
.jpg)
.jpg)
.jpg)